Vintage 1946 Sonora AM Radio Restoration – 07 – Chassis clean up and Dial cord replacement
Vintage 1946 SONORA AM RADIO RESTO-MOD PROJECT
Chassis clean up and Dial cord replacement:
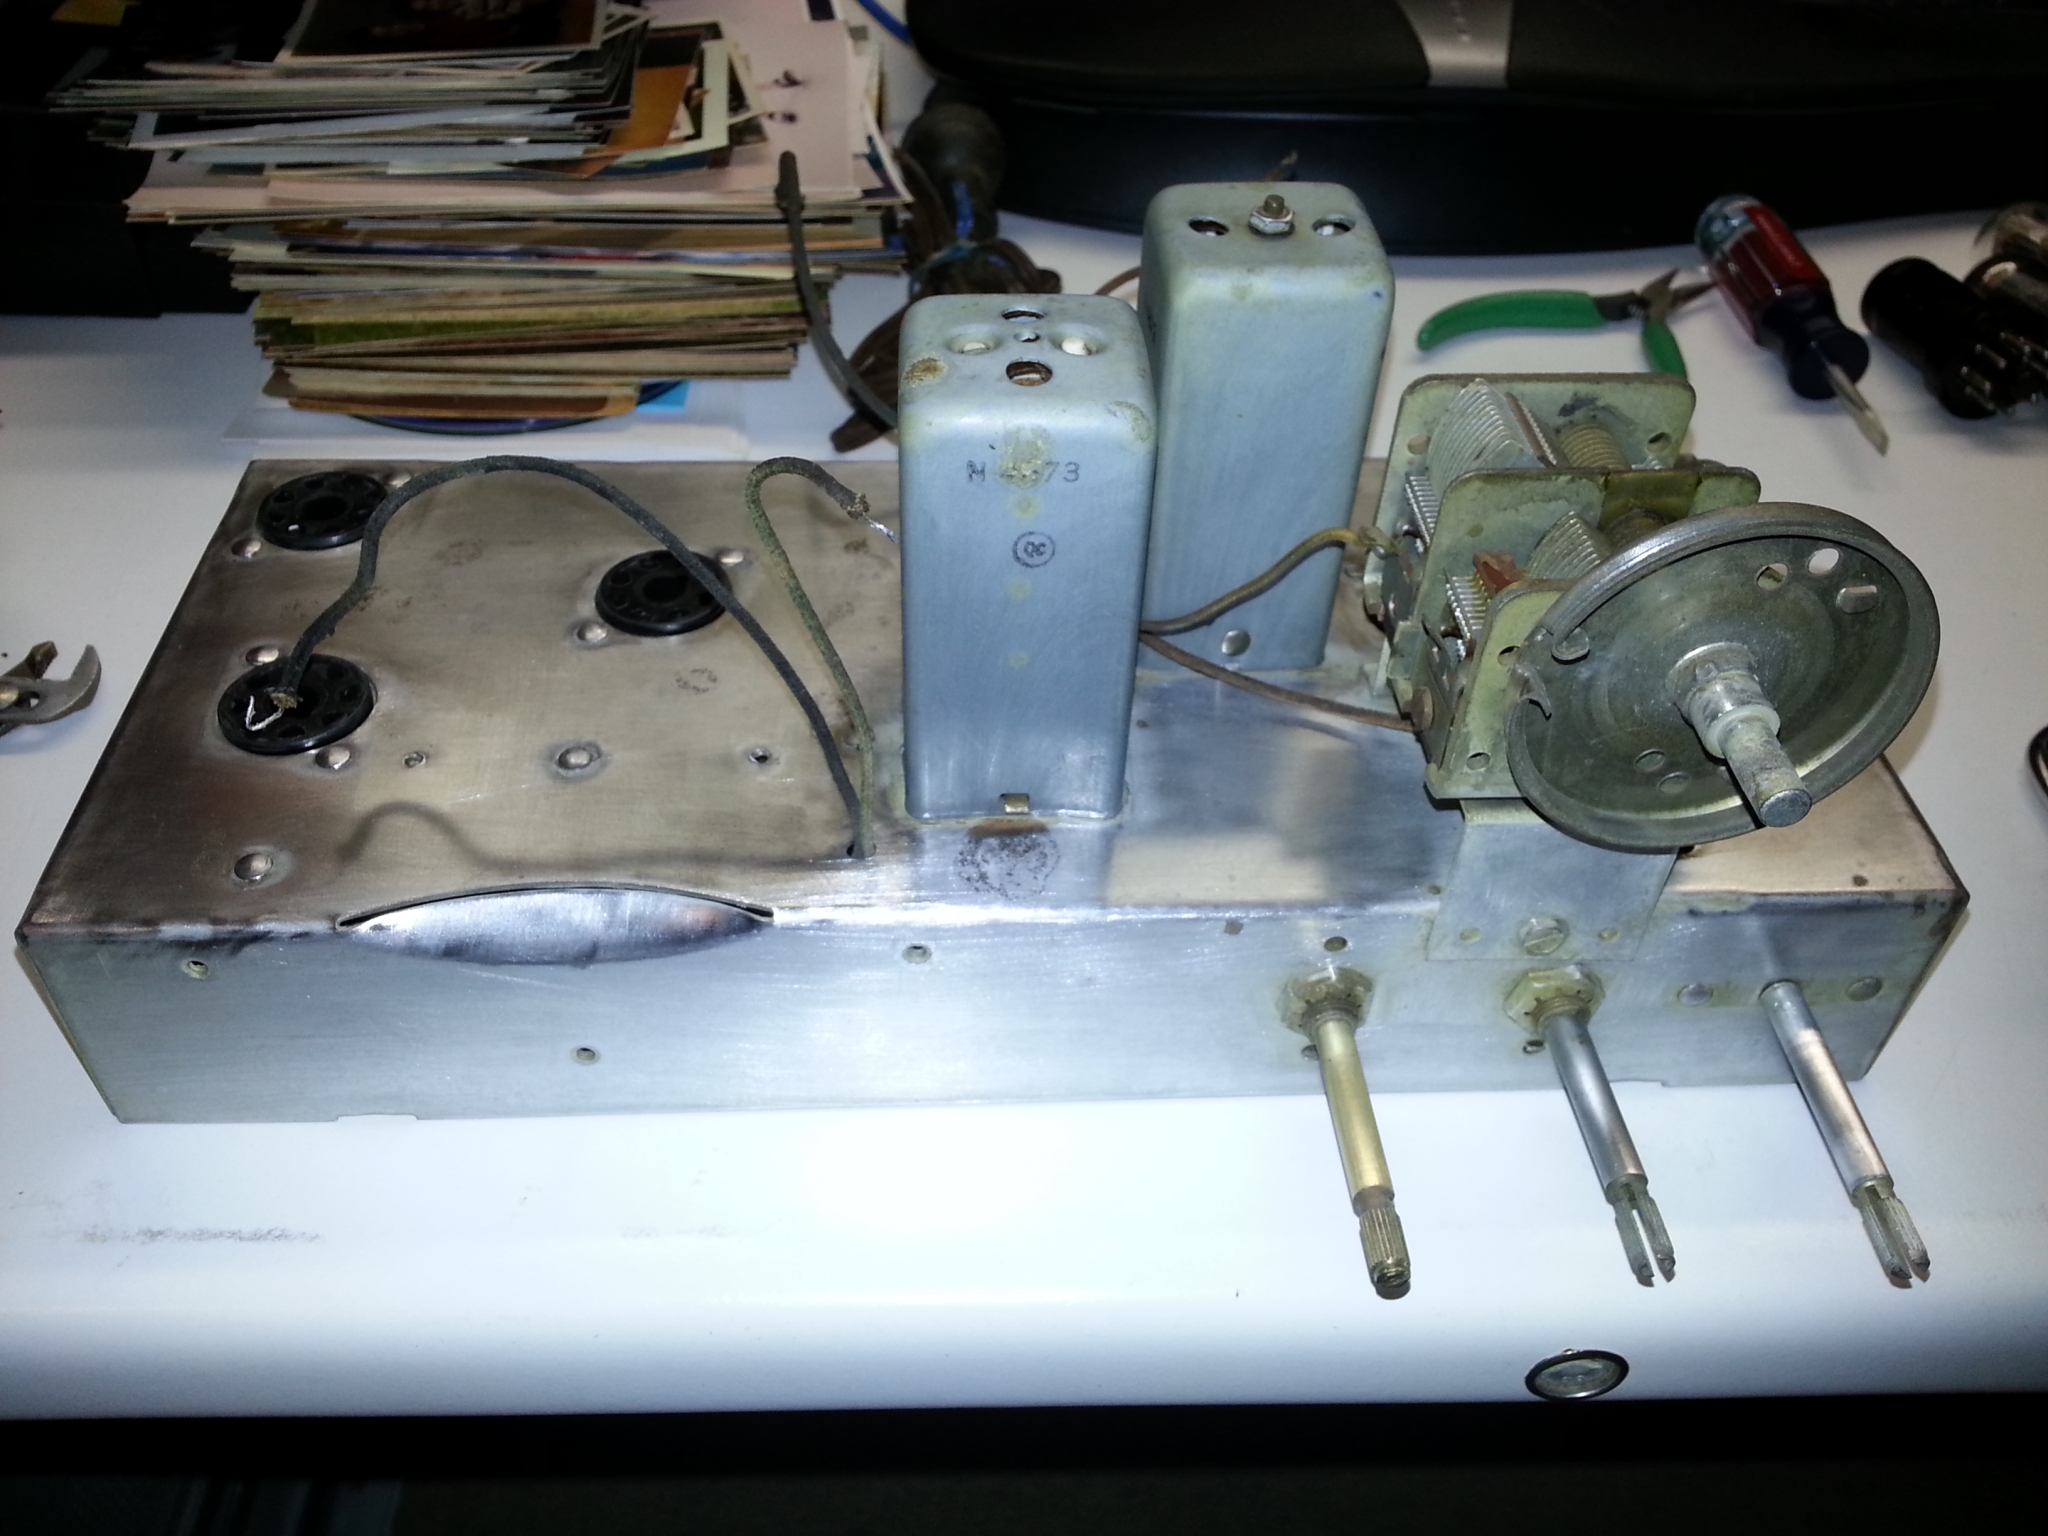
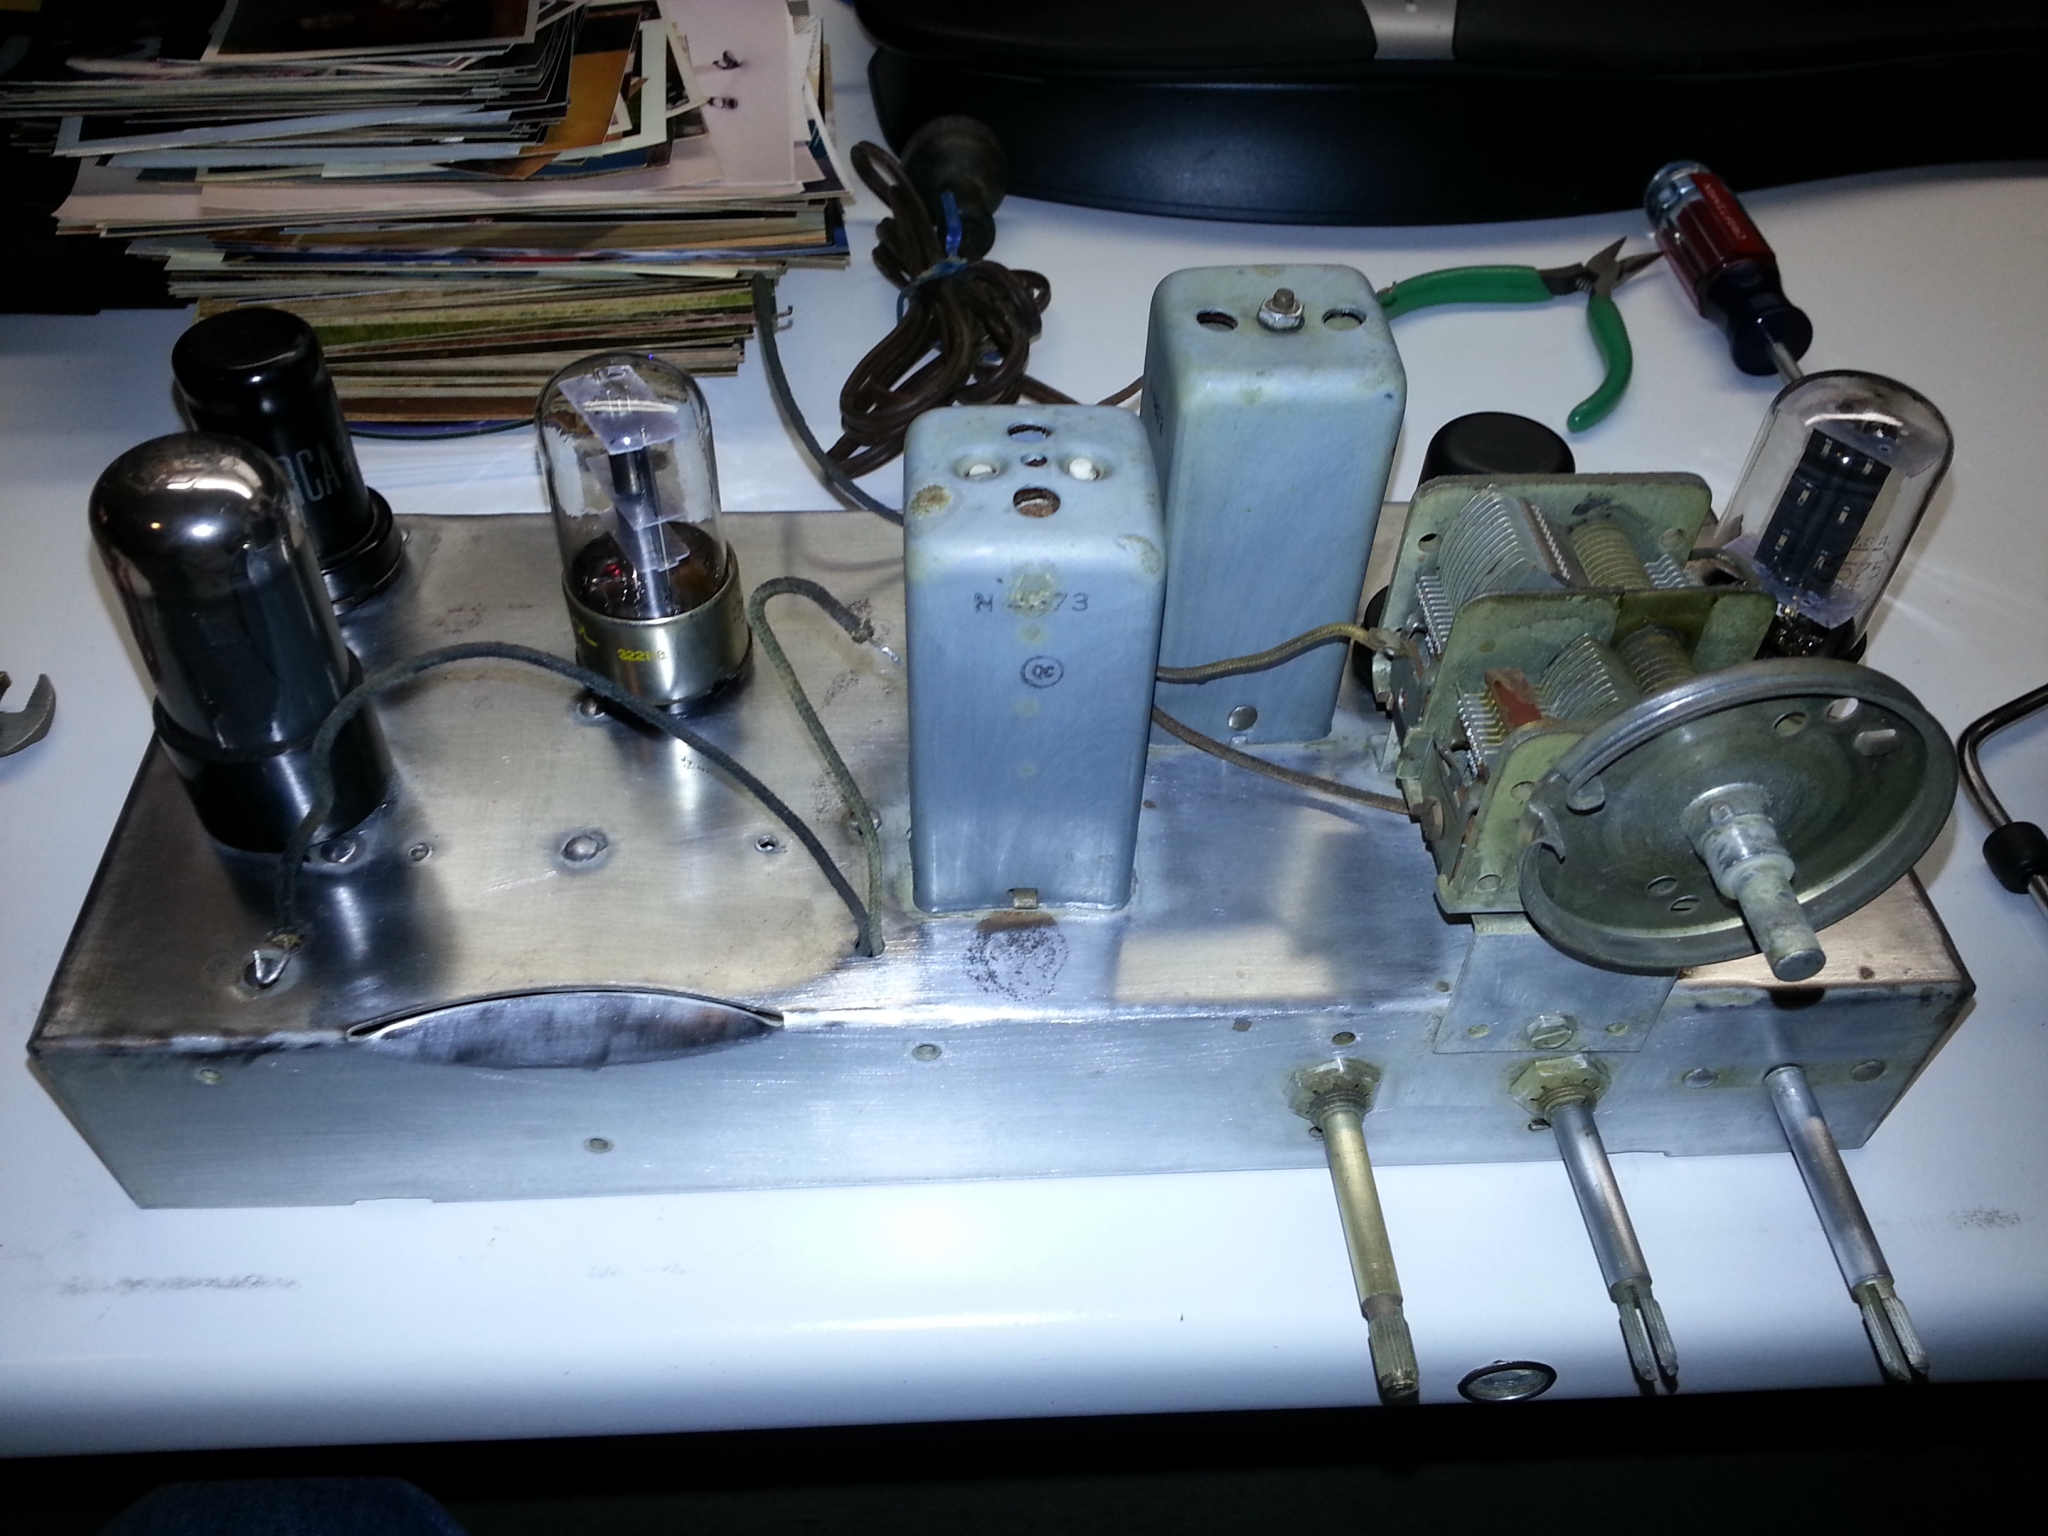
I spent a little time at this point with an air compressor again to blow off the dust that had accumulated on the chassis. I then used some fine sandpaper and small wire brush on a Dremel tool to clean up the metal on the chassis a bit. There were some areas where corrosion had started but my main objective was to just get it clean and somewhat nice looking again. I also used some electronic contact cleaner to clean out the contacts for the vacuum tubes and also worked some into each of the two switches on the unit. The Off/On/Volume switch and the tone switch. I worked the switches through their range as I sprayed the contact cleaner through a hole in the side of the switches to make sure the contacts were clean and making good electrical contact inside of them.
Then it was time to replace the broken Dial Cord. I found some original style dial cord online and had ordered a roll of it. It was very inexpensive and there was plenty to have for later in case the cord broke again down the road. I removed the old cord from the unit and carefully measured out an equal length of the new cord to replace it with. The tension in the cord was maintained through a spring on the pulley of the variable capacitor used for tuning in stations. Replacing the cord was an easy task and the new one was in place in a few minutes and working like a charm!


Forward to Page 08
Back to Page 06
Back to the Table of Contents

Leave a Reply
You must be logged in to post a comment.