Vintage 1946 Sonora AM Radio Restoration – 18 – The Dial Scale Frame
Vintage 1946 SONORA AM RADIO RESTO-MOD PROJECT
Making the new Dial Scale Frame:
With everything finished except for the Dial Scale, I started working laying out the design and thinking about the details of how I wanted to do this. My planned to use some old scrap pieces of Honduran Mahogany that I had from some old Cub Scout Plaque projects that I did long ago! I just KNEW those scraps would come in handy some day! 🙂
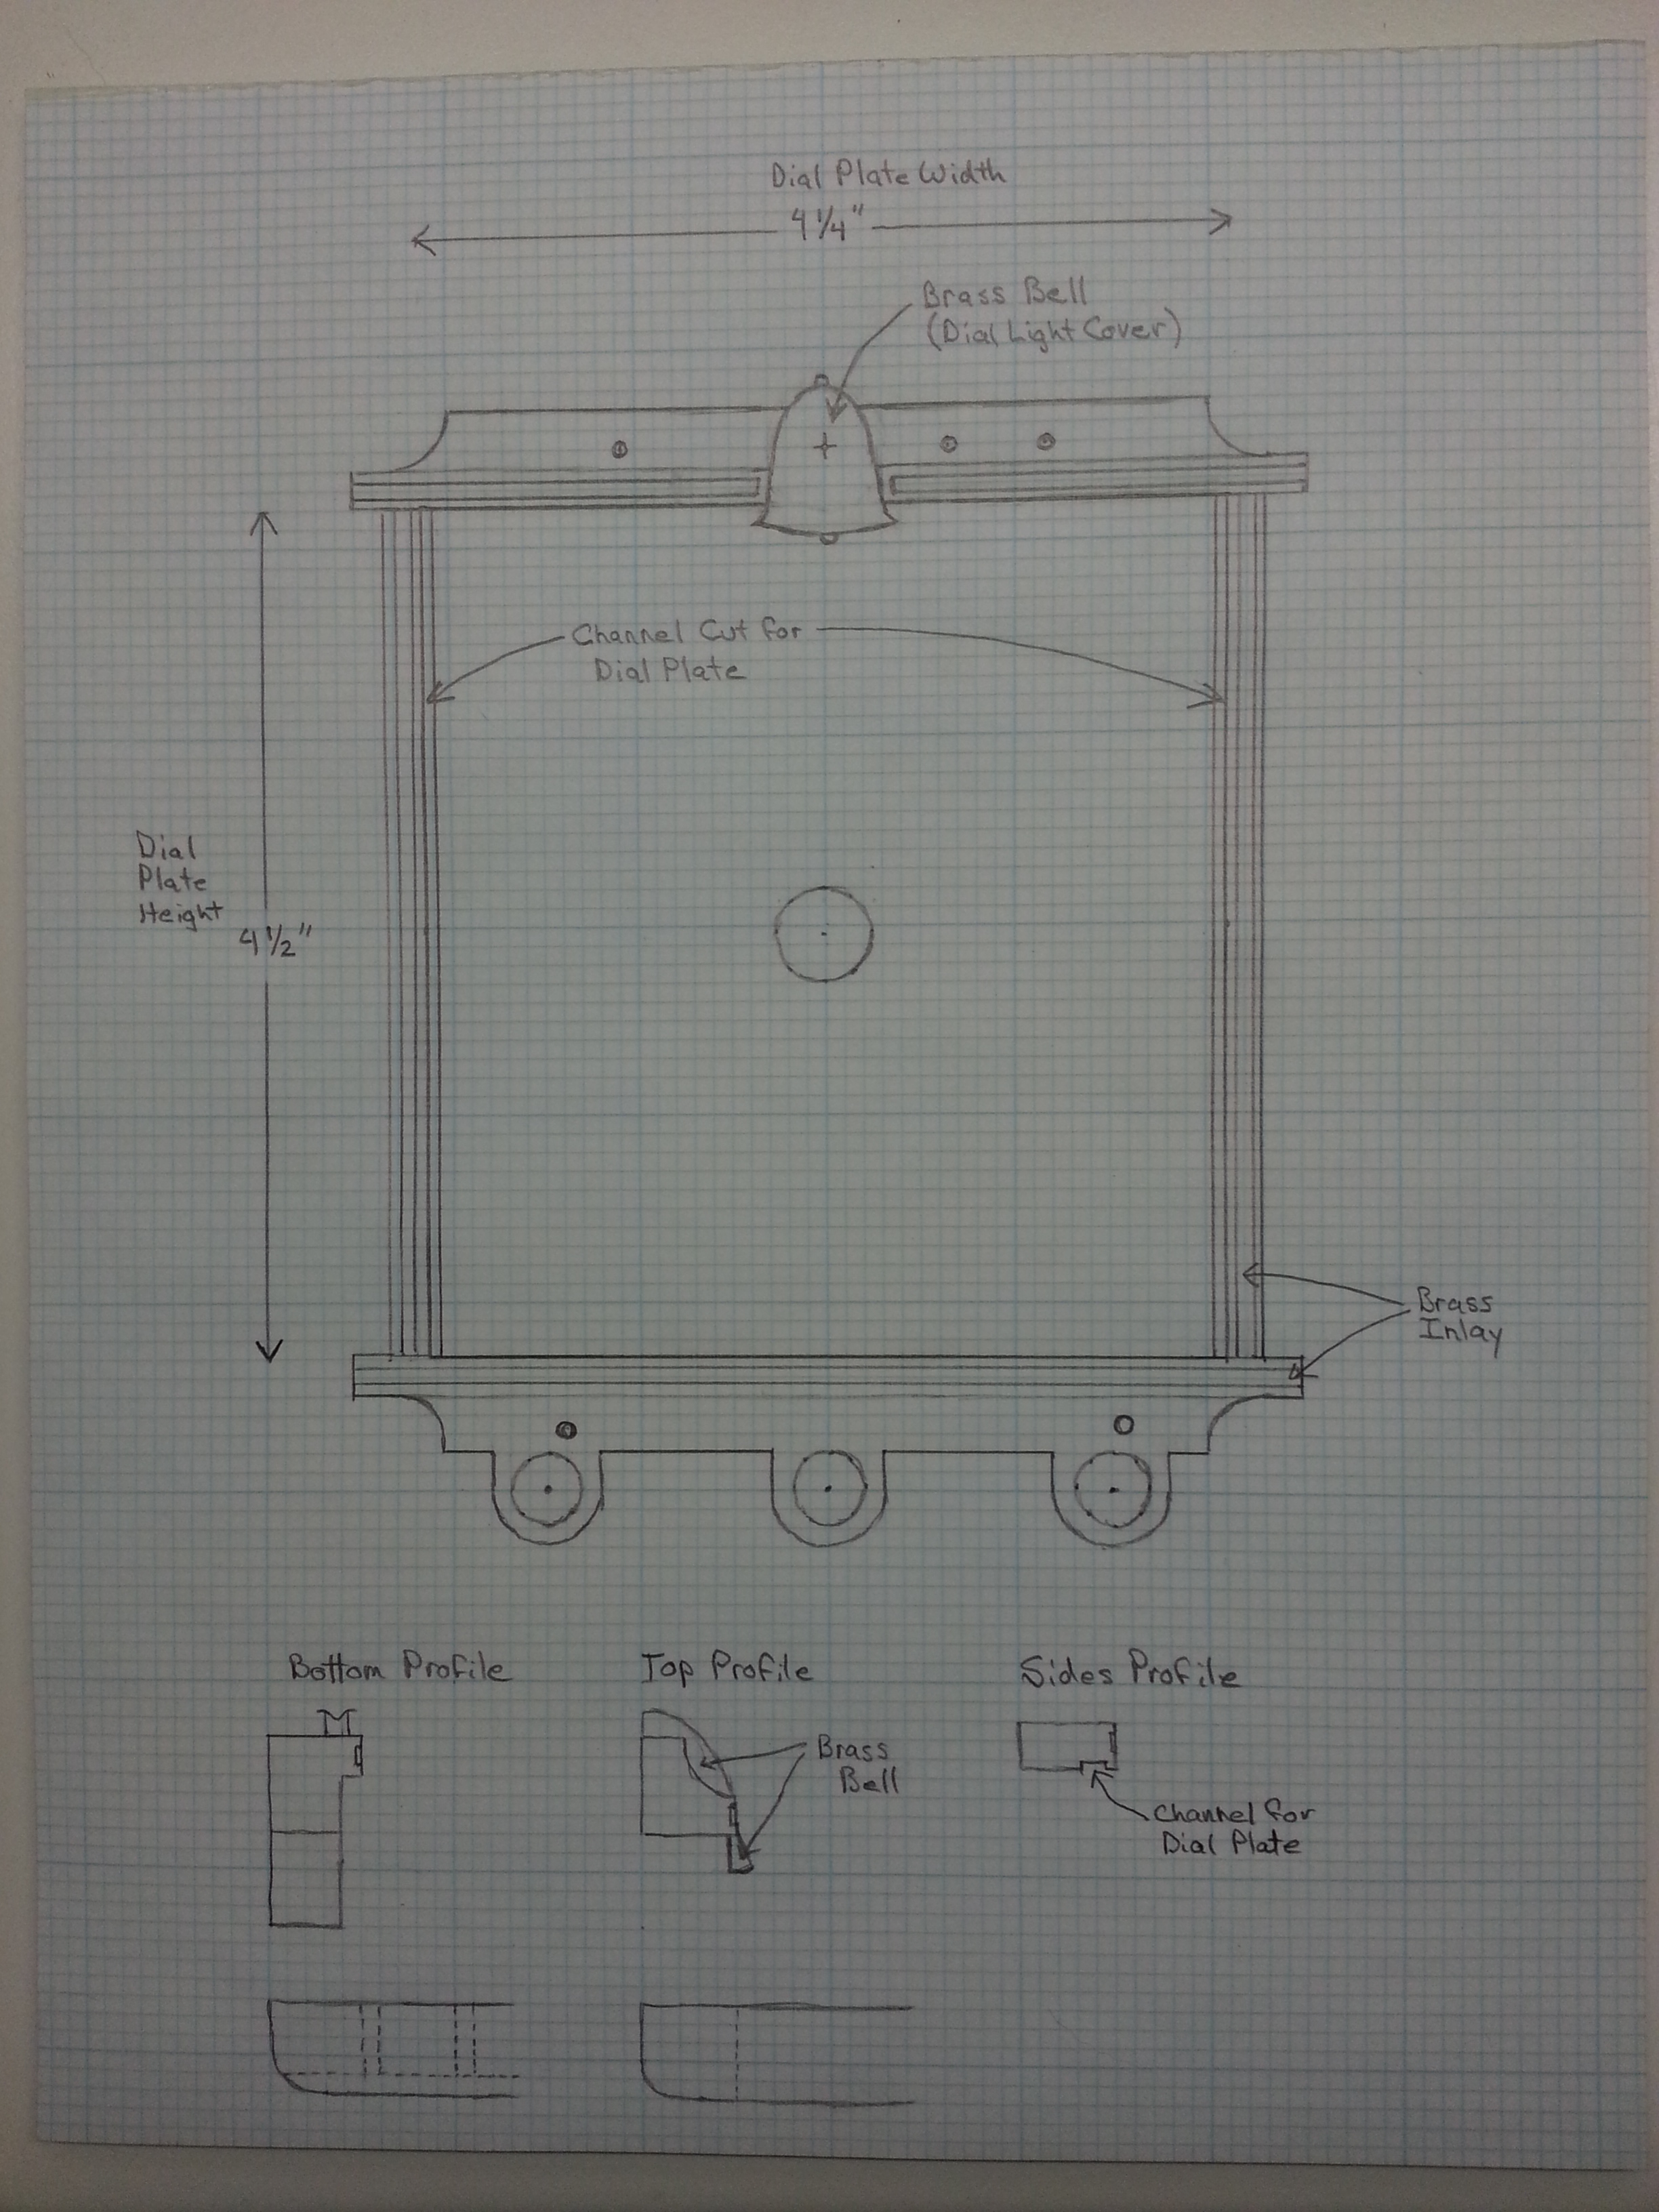
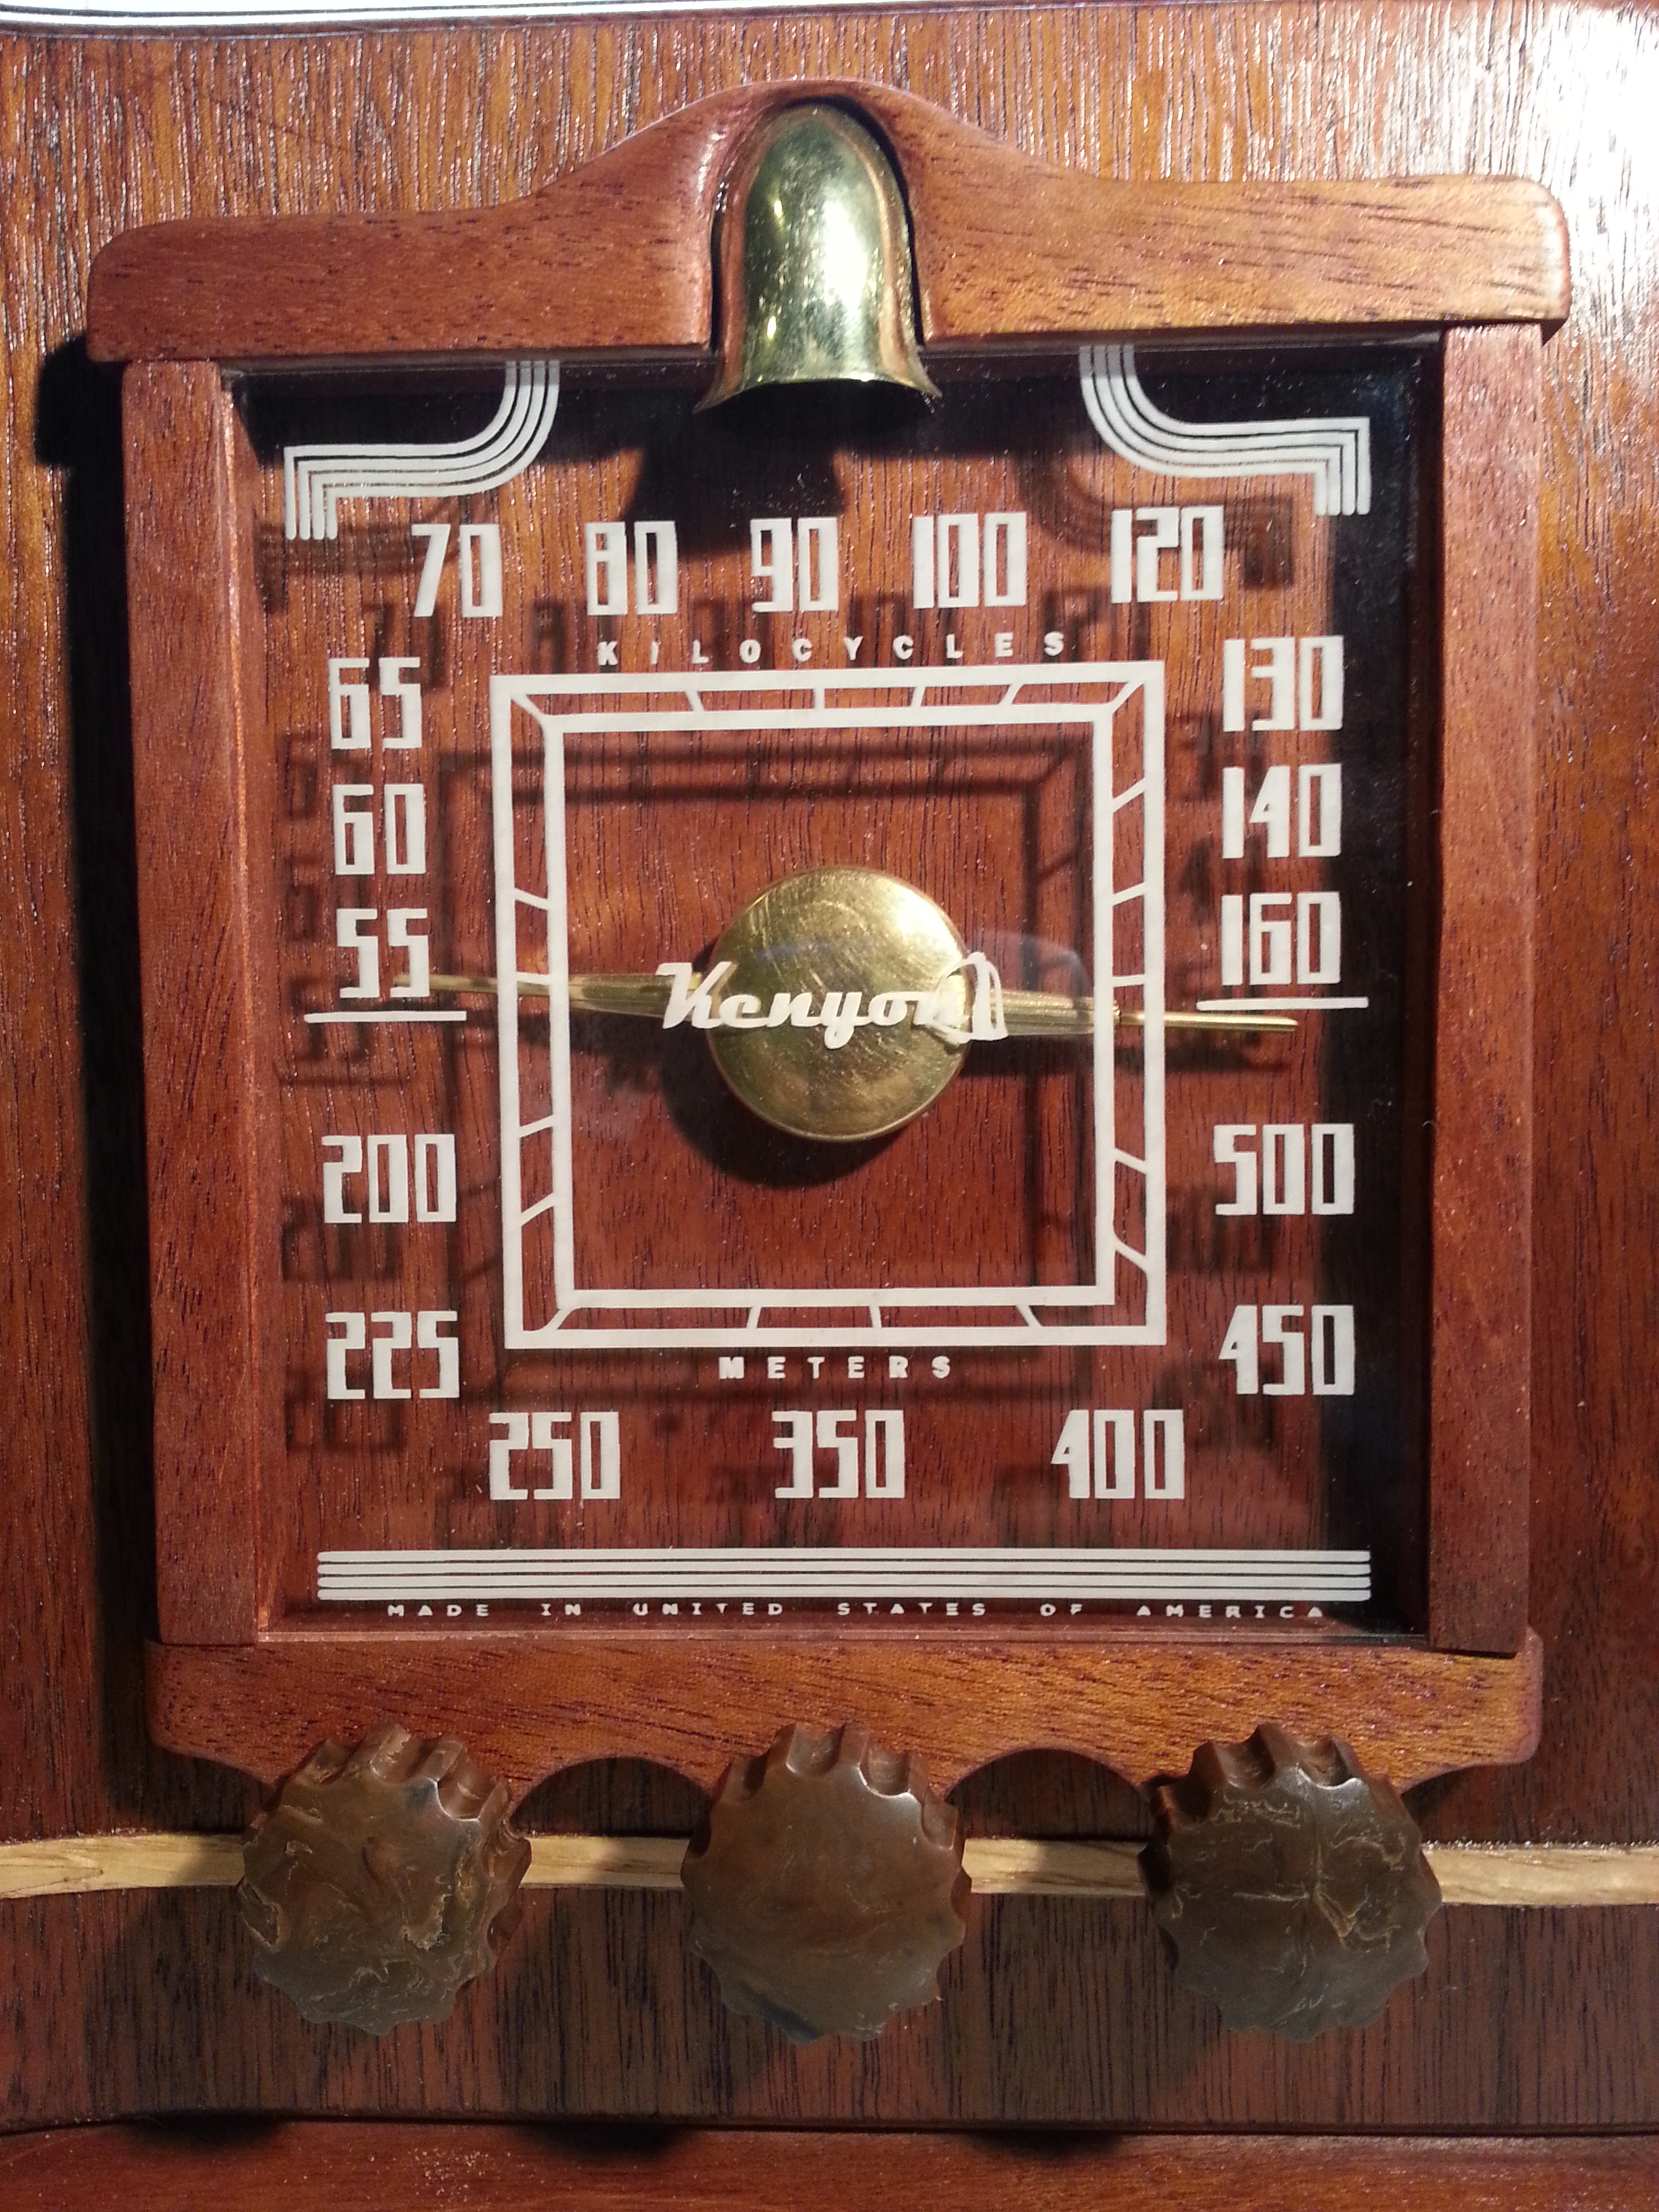
So I measured the cabinet holes and used some of my favorite paper (blue lined graph paper!) to lay out the design. I wanted to use the same mounting holes to continue with my pledge of not making any permanent modifications to the original radio or cabinet! I came up with a simple design but with one little challenge. I wanted to fashion a brass bell out of some sheet brass to use as a dial light cover and give the frame a nice accent along with keeping with the original radio’s logo theme! Having never done any type of working with metal by forming it with a hammer so this was going to be bit of learning experience. But hey! I will try just about anything once and this should be a nice simple little project to give it a try! 😉 I will add some photos and a write up specifically on the brass bell on the next page.
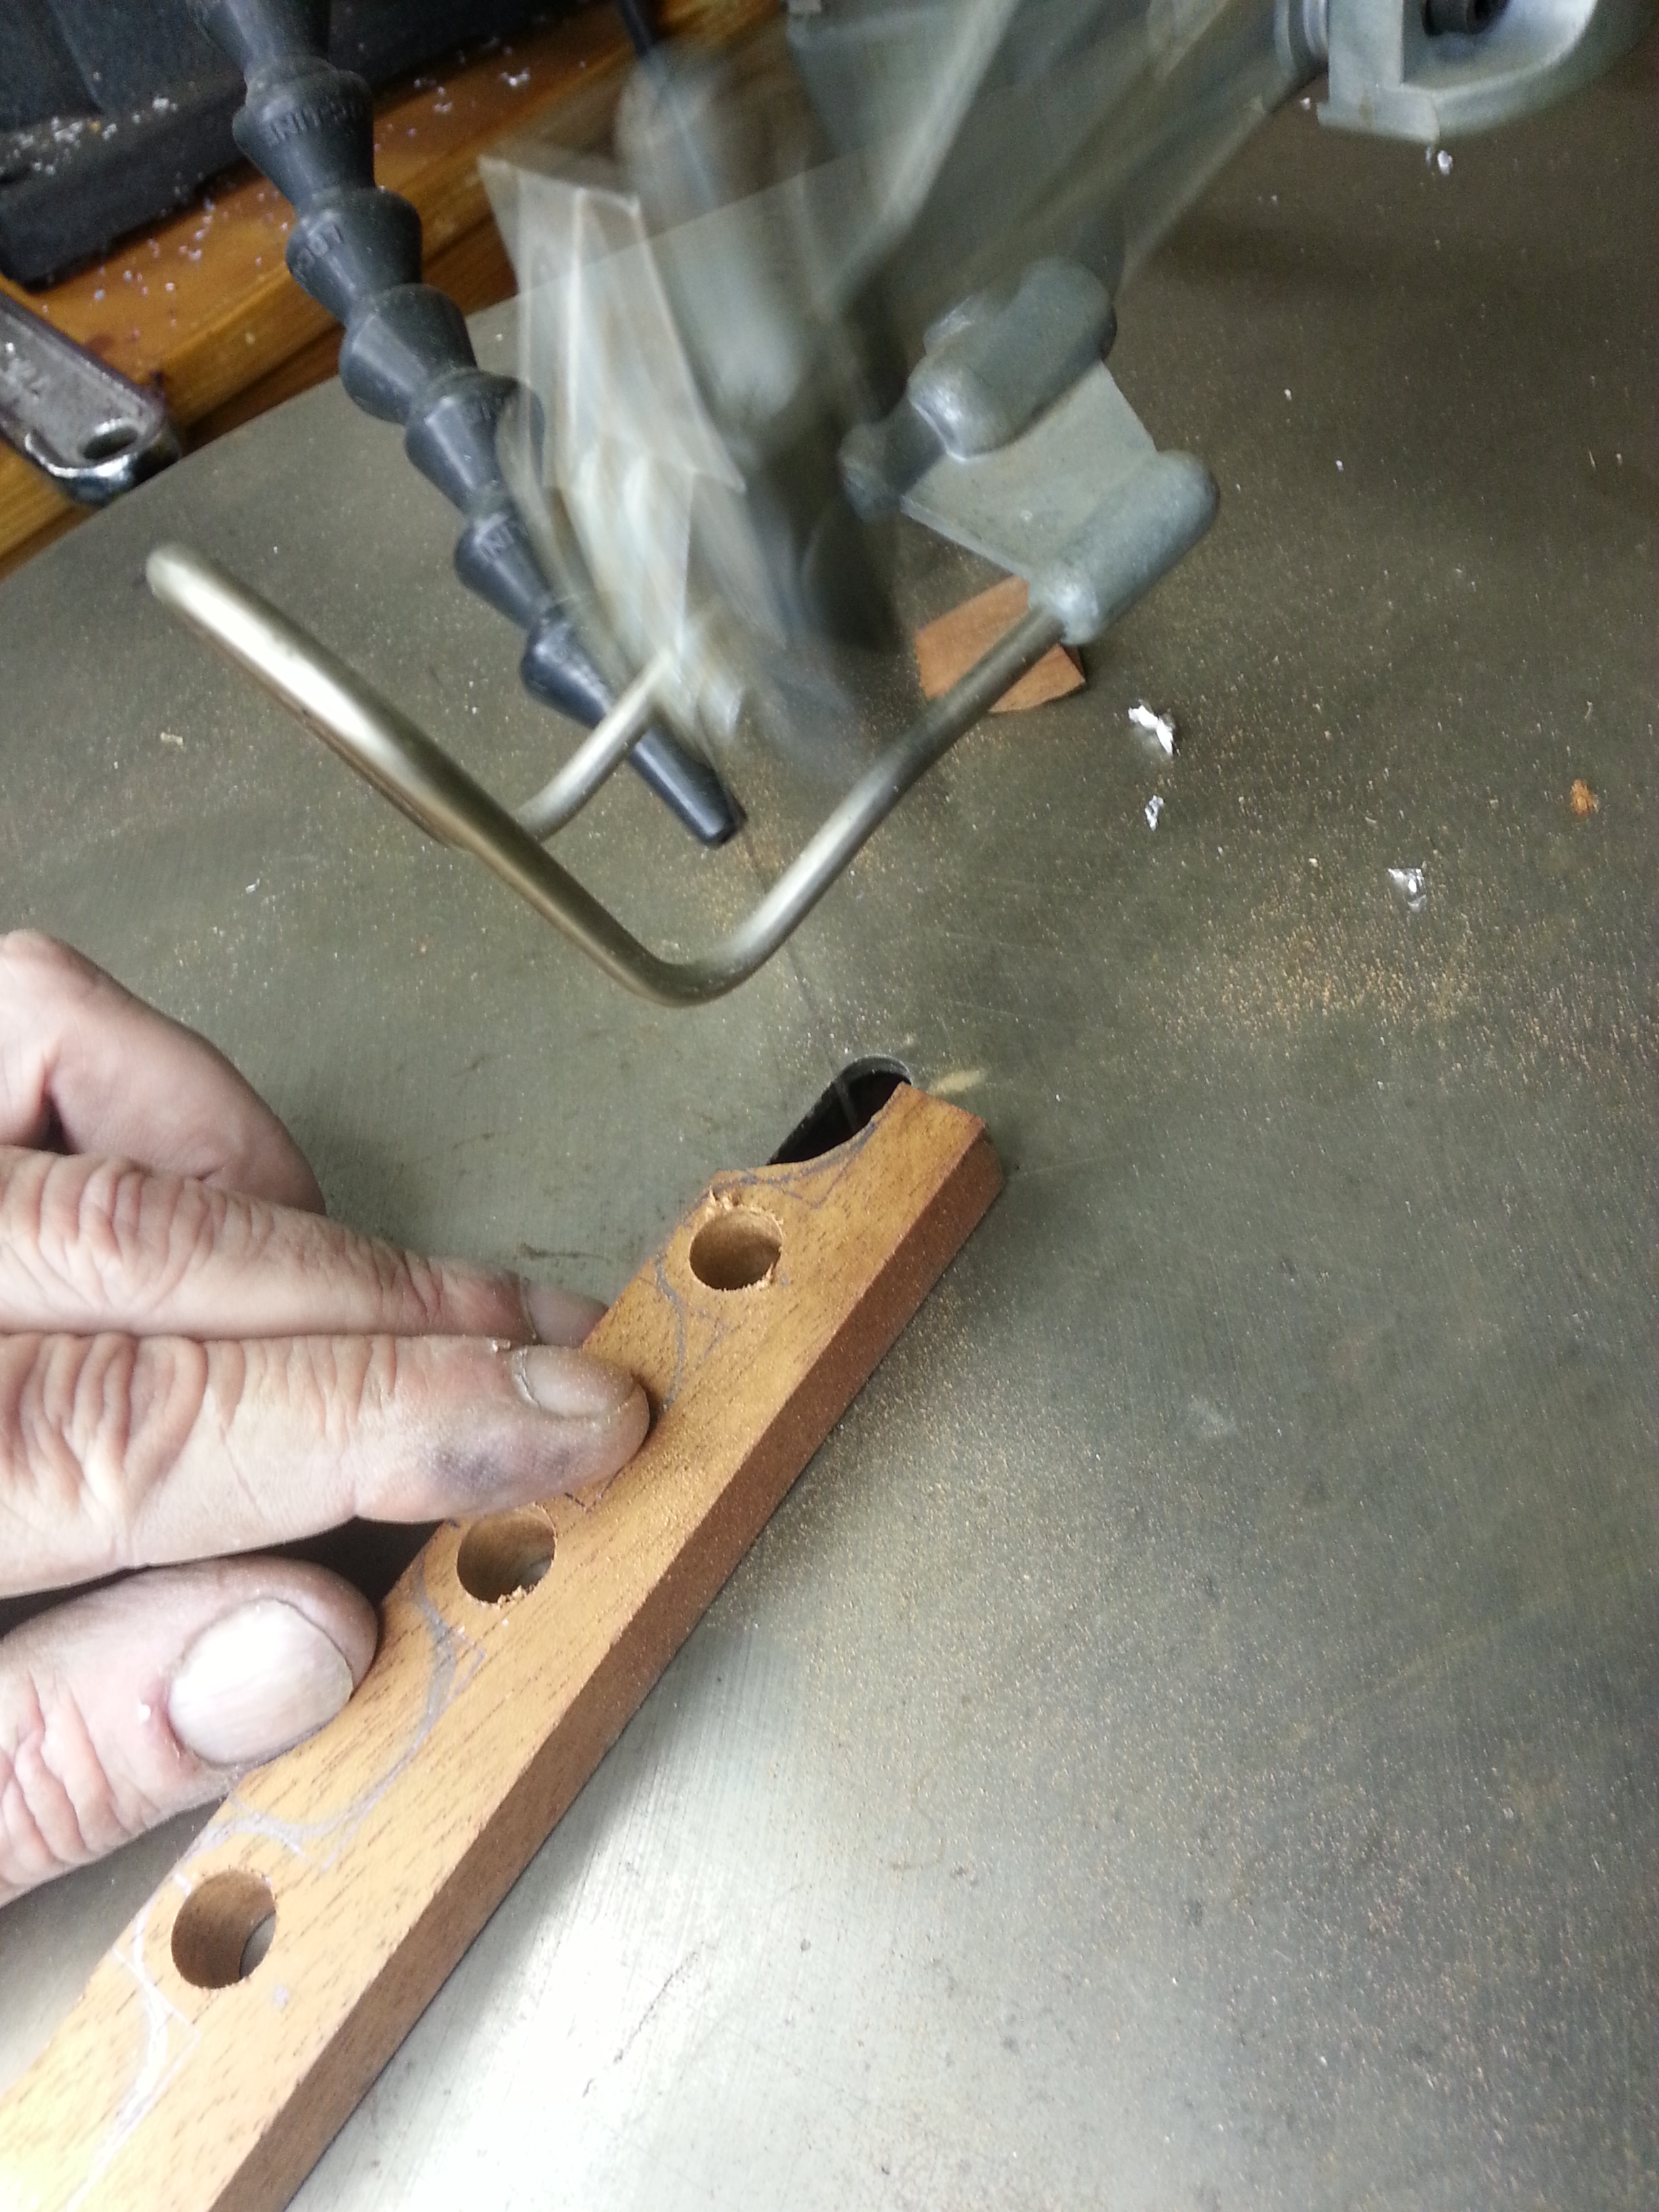
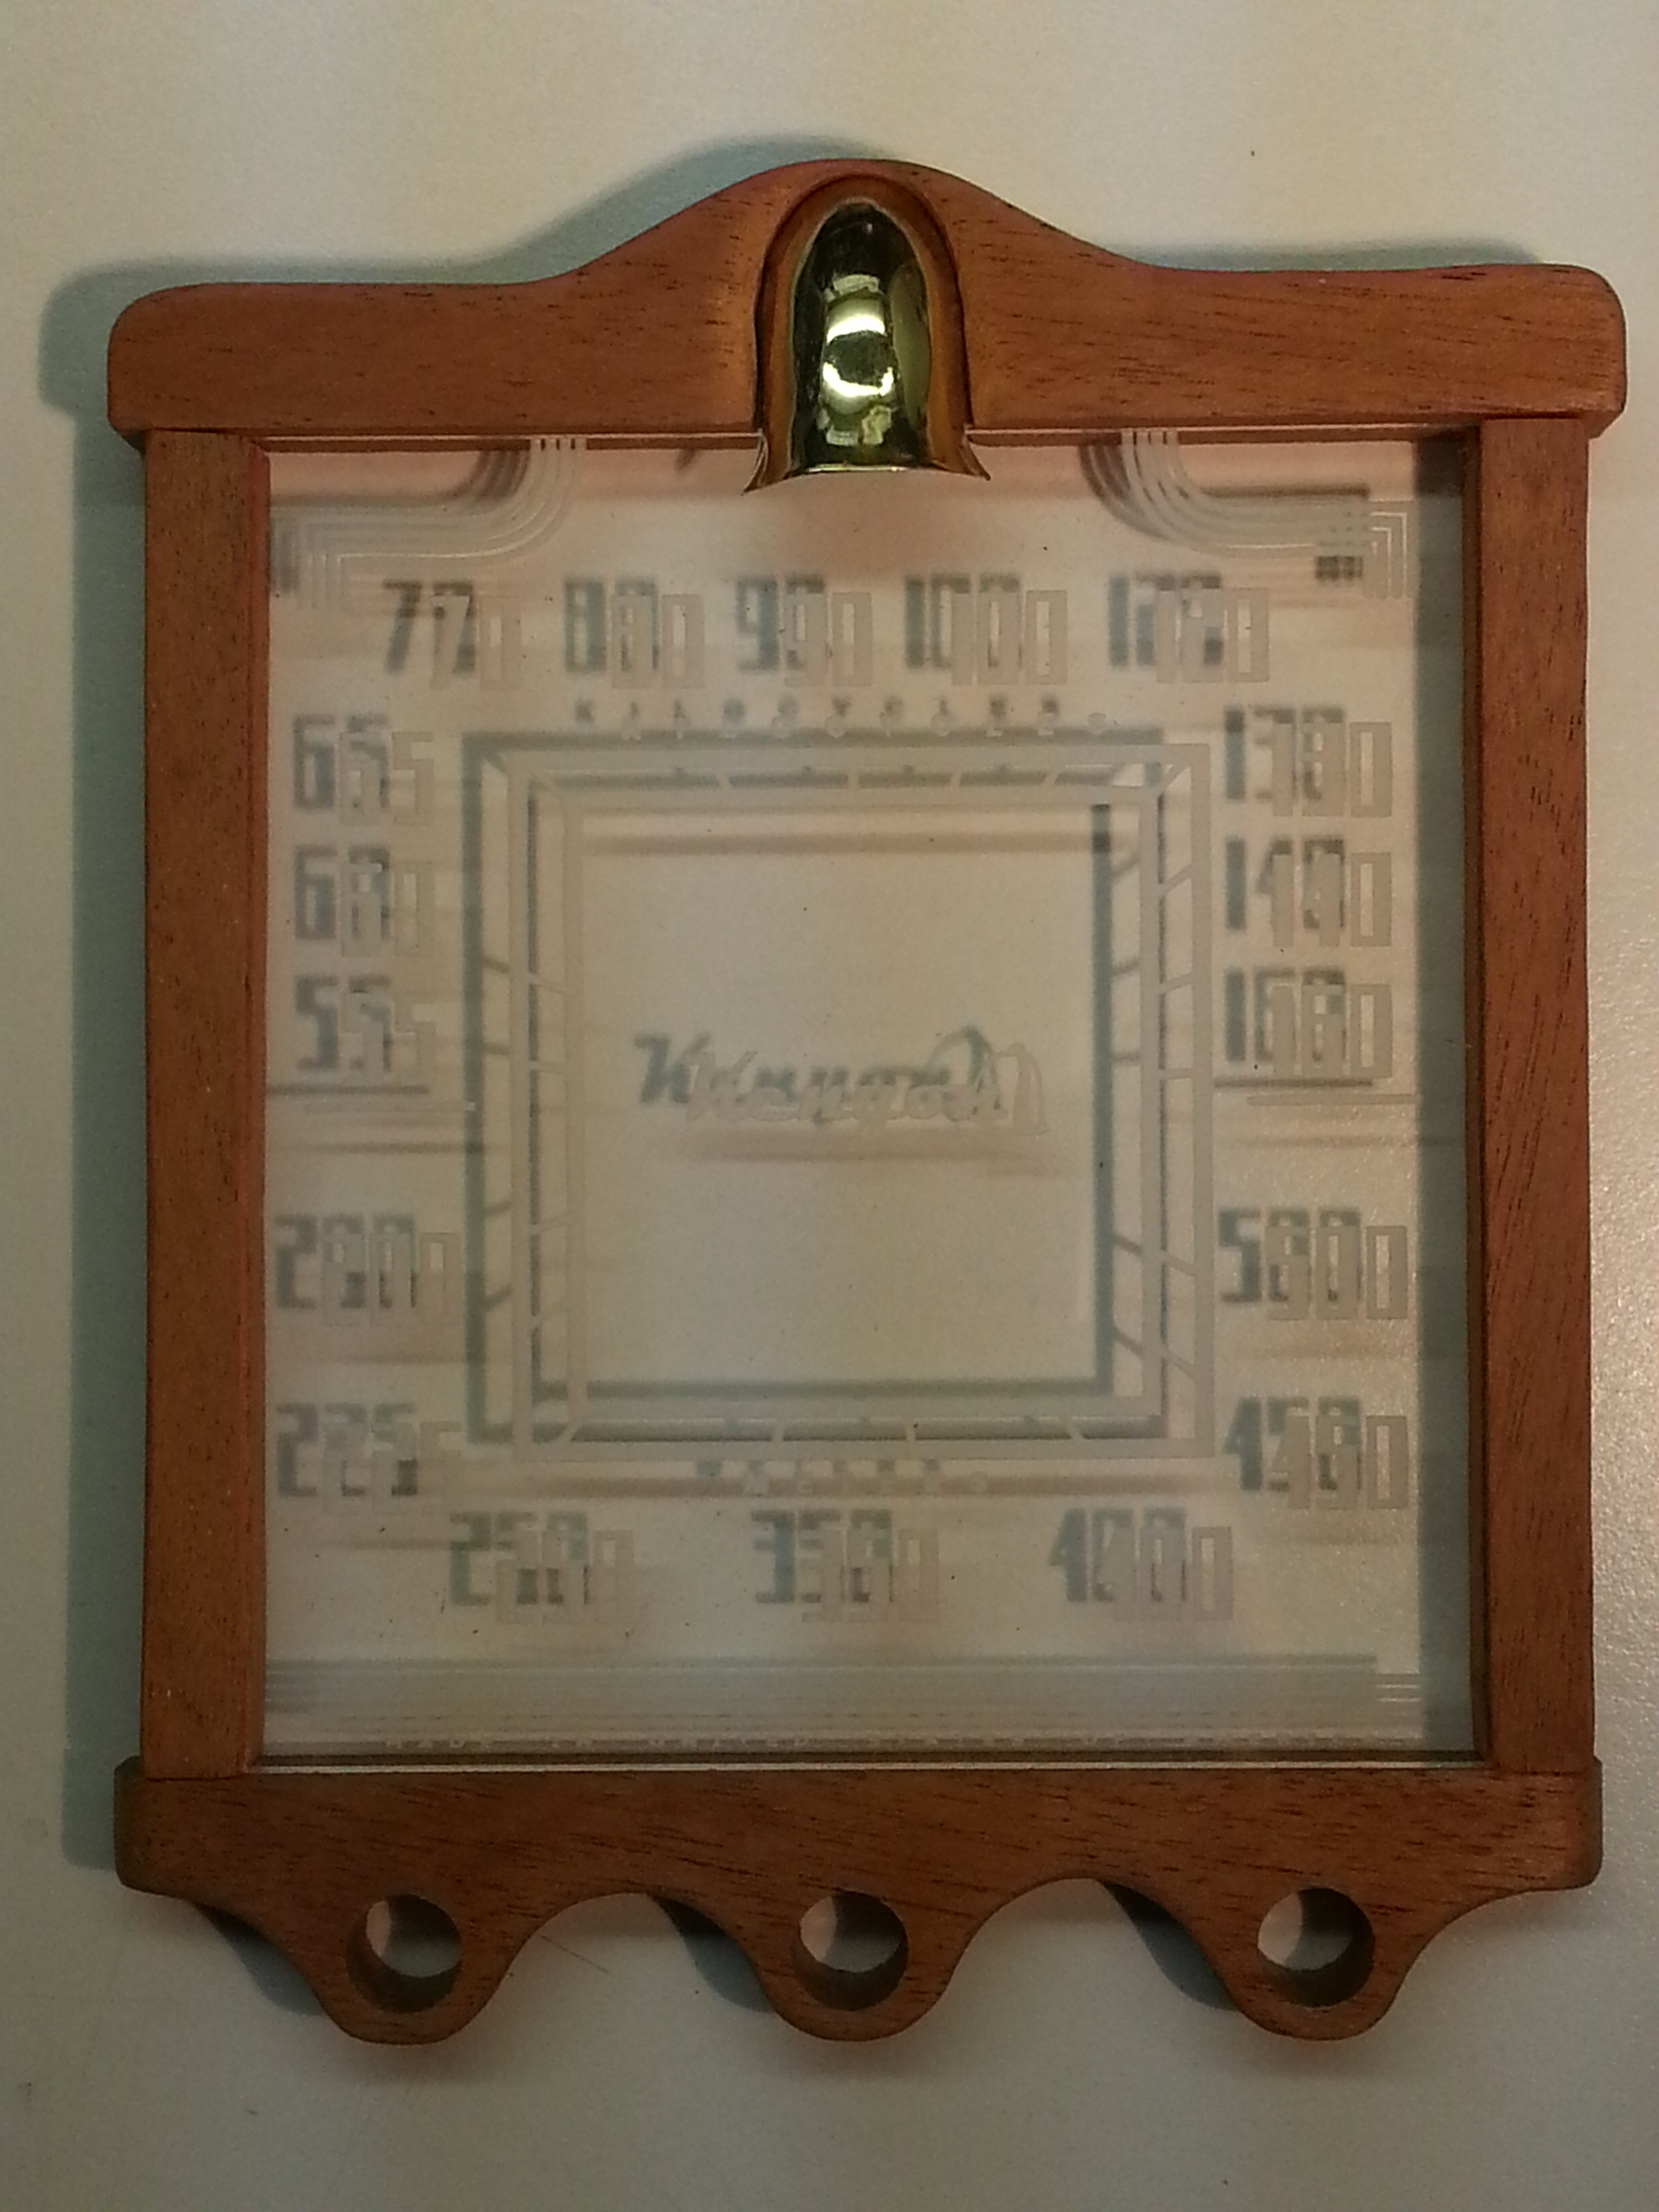
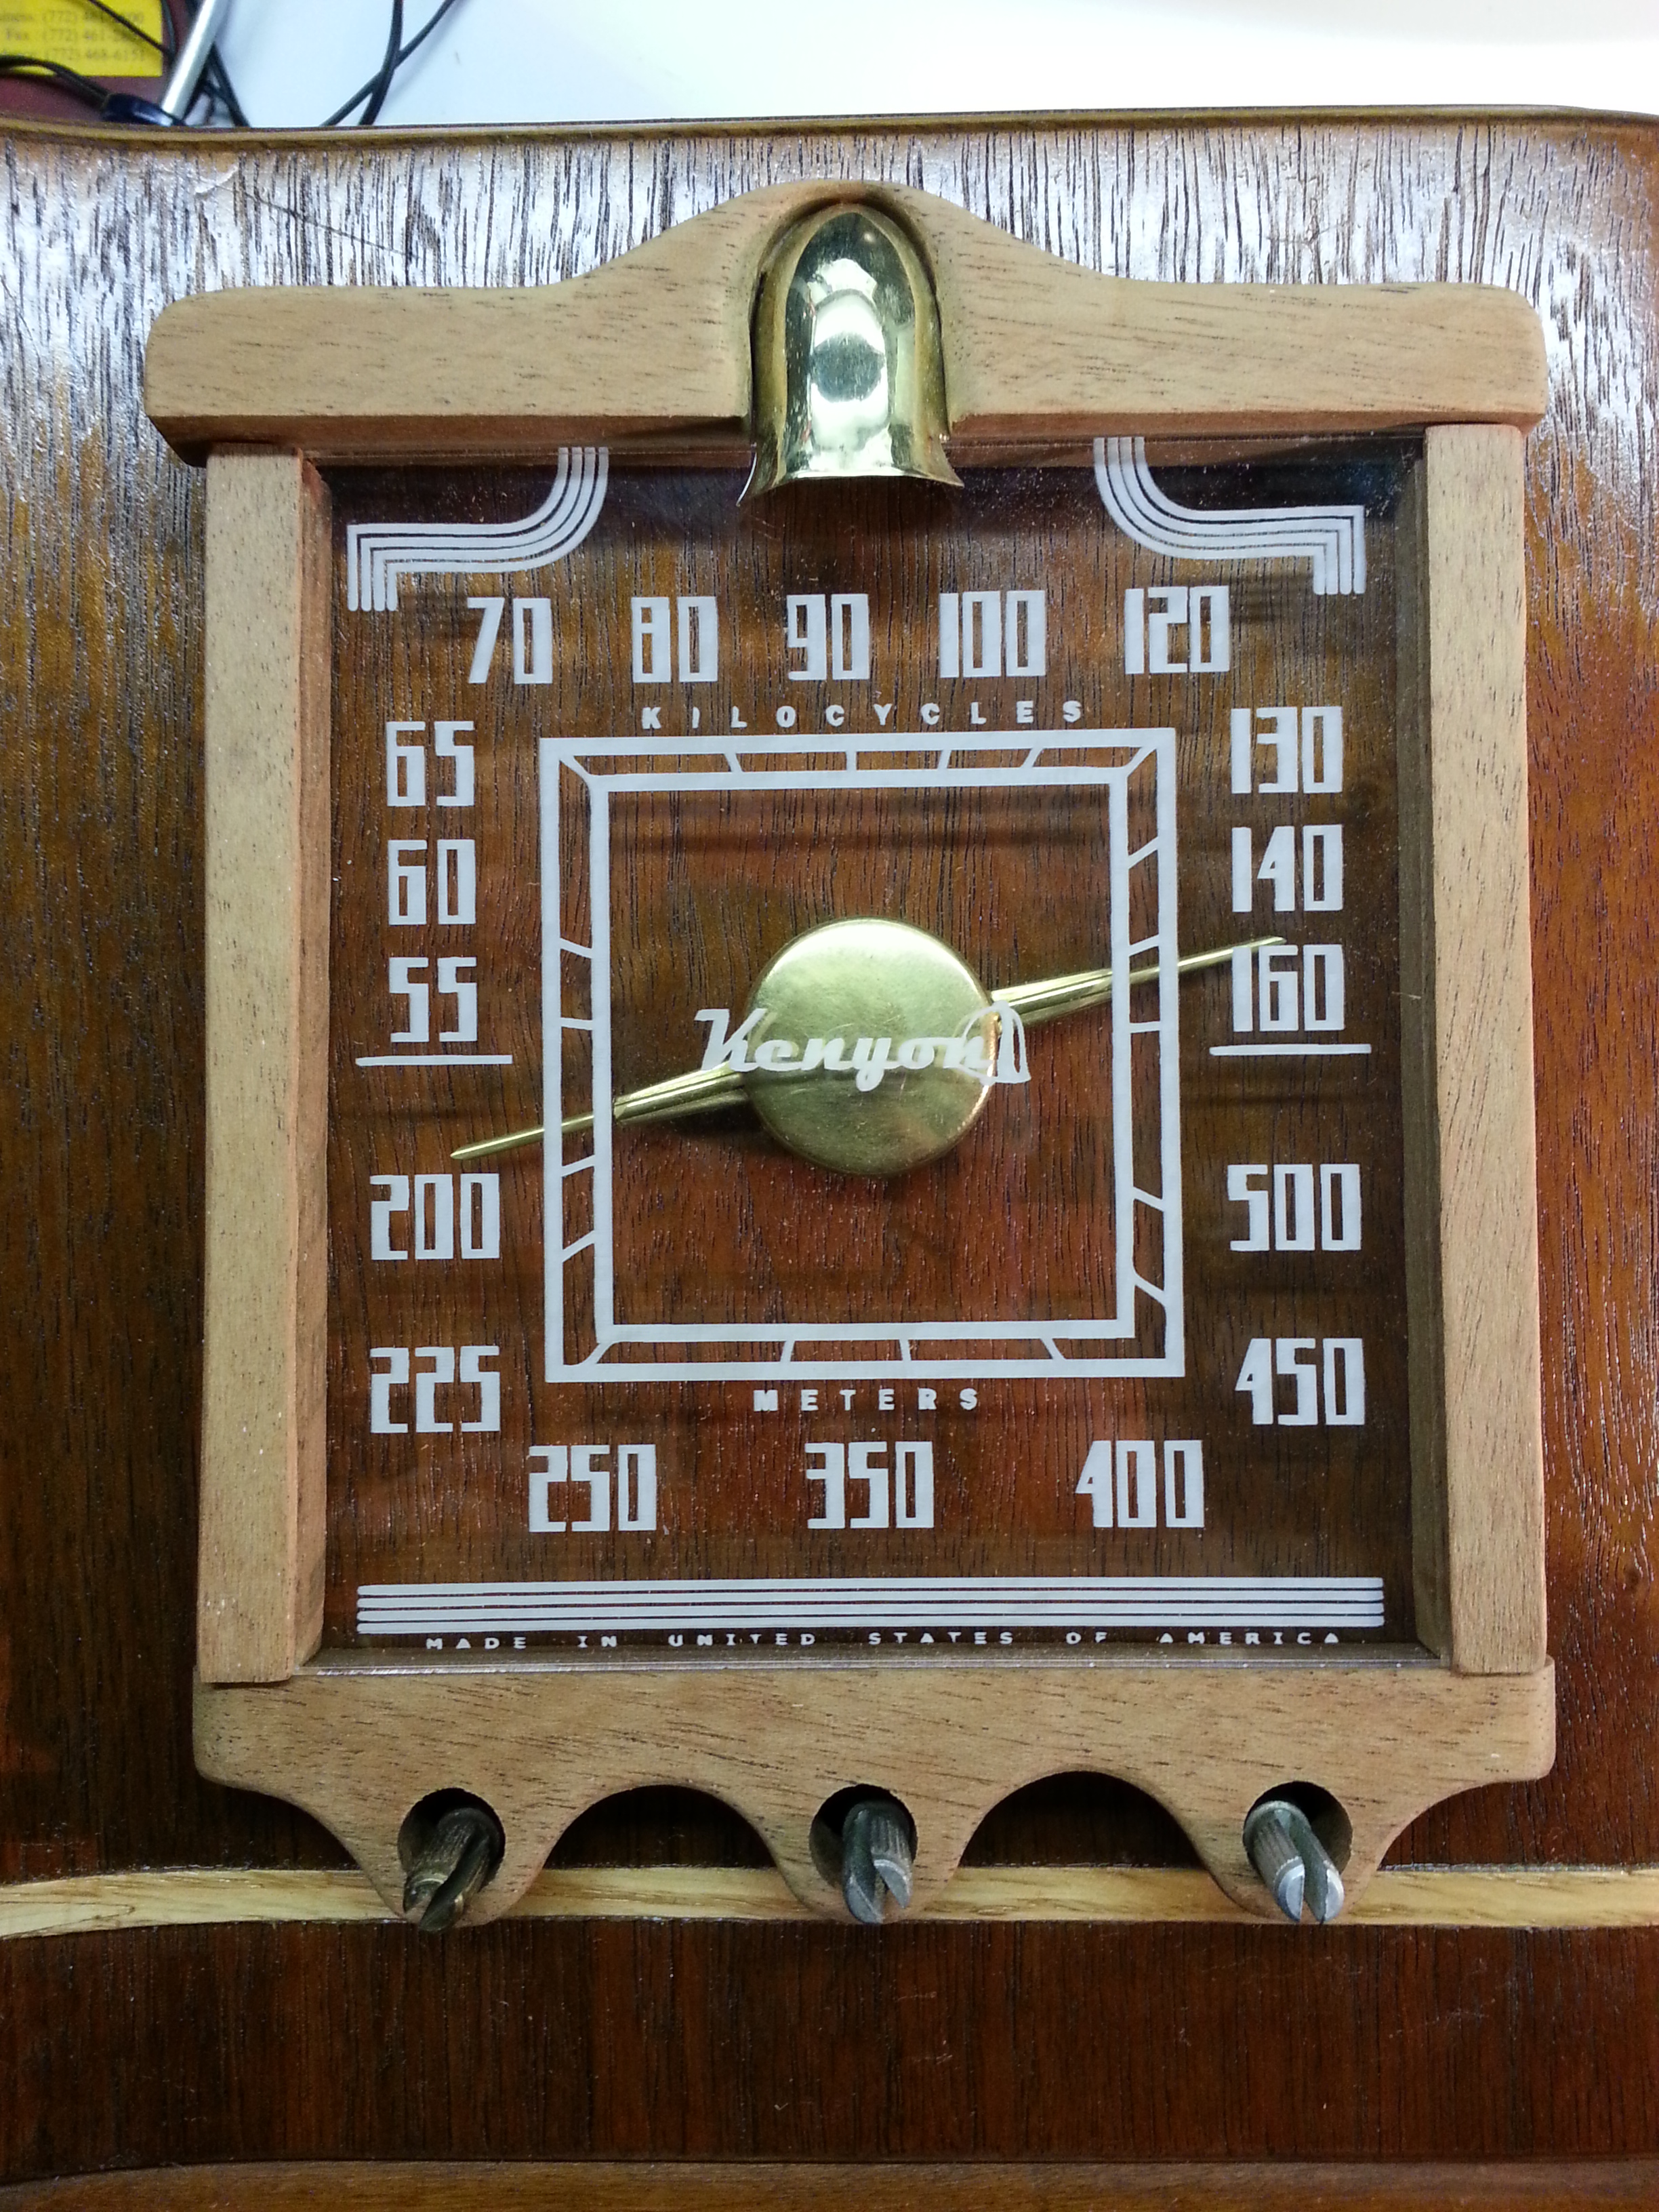
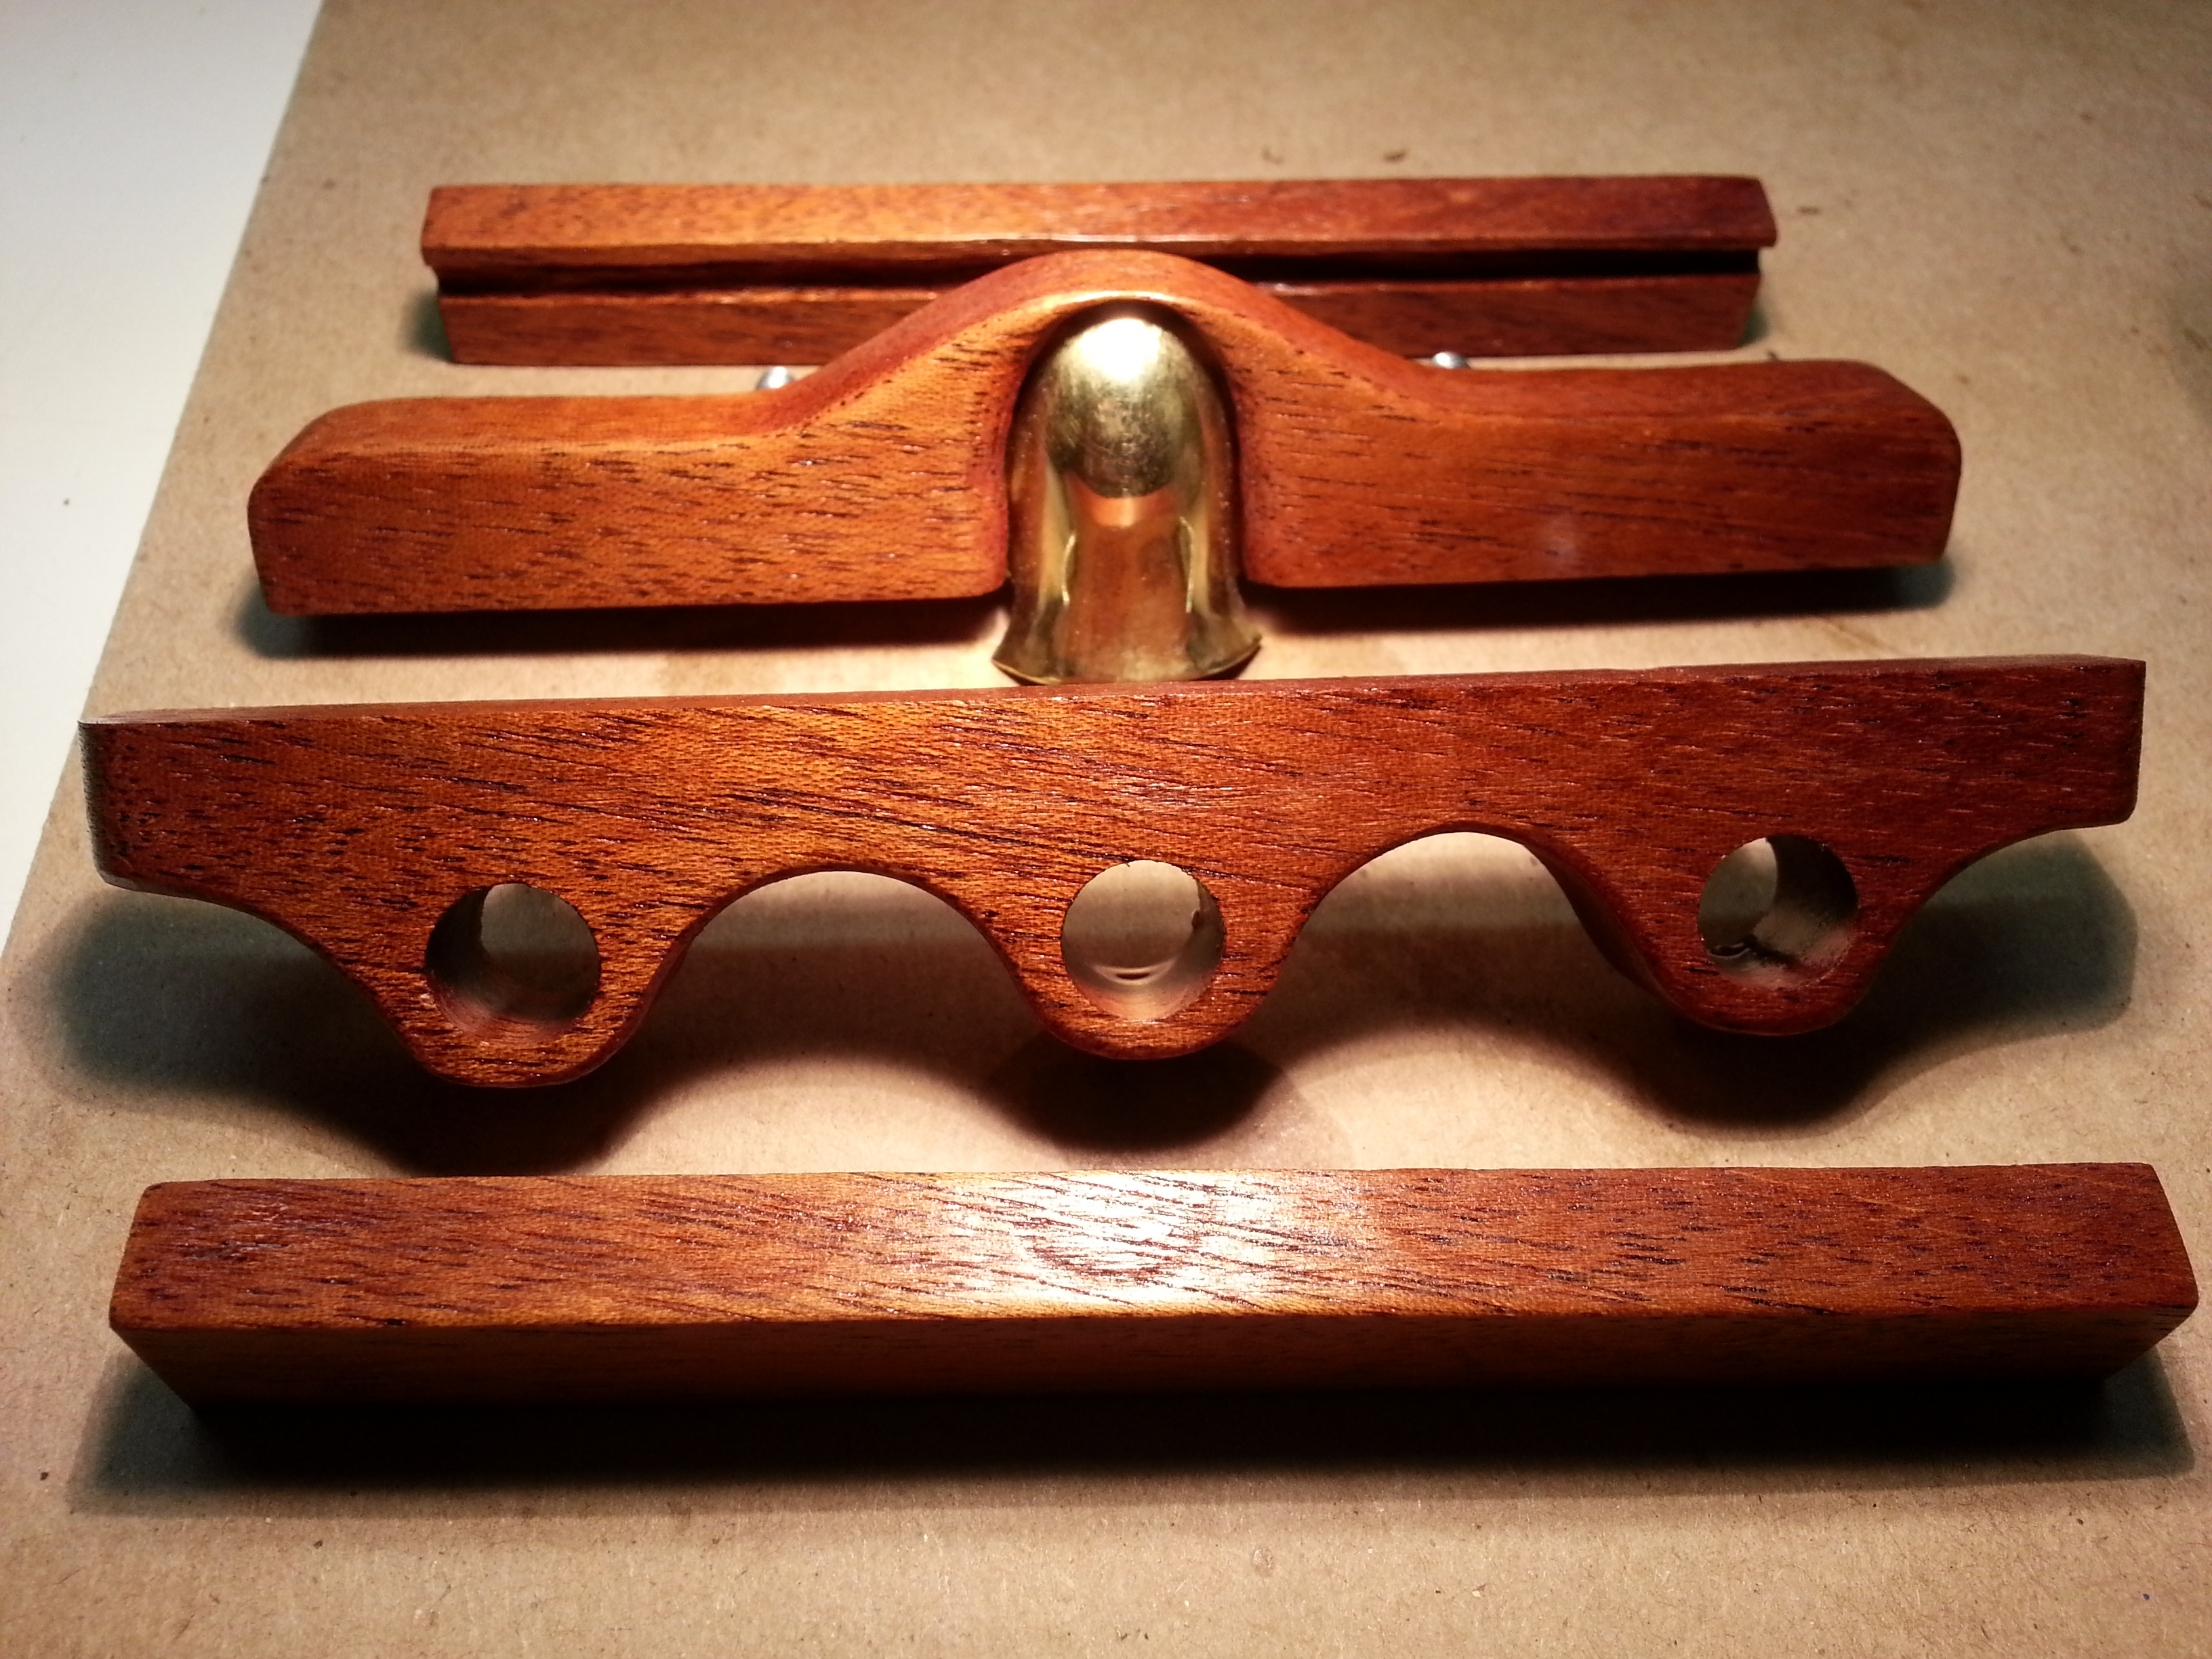
So, it was on to making the frame! One of the interests that I got from my Grandpa long ago was woodworking! And over the years I have assembled quite a collection of woodworking tools so this part was going to be fairly simple. A few cuts, some sanding, drilling a few holes, adding some mounting studs and it was just about complete. The rest was just doing some test fitting and making sure that everything lined up correctly and then putting a coat of finish on the wood and letting it dry before assembly.
Here are a few shots of the process and the completed frame.
Forward to Page 19
Back to Page 17
Back to the Table of Contents

Leave a Reply
You must be logged in to post a comment.