Vintage 1946 Sonora AM Radio Restoration – 17 – Programming the Arduino
Vintage 1946 SONORA AM RADIO RESTO-MOD PROJECT
Programming the Arduino:
Since I was having to wait for the second try at the dial scale, I decided to focus my attention on getting the Arduino programmed and fine tuned to work the way I wanted it to with input from the dial scale potentiometer that I put in place.
Programming the Arduino can be a bit of challenge sometimes and I always seem to find that sometimes the commands do not work as expected. Or at least they don’t seem to be on the surface. Debugging issues like this can be a bit of challenge as well since you are basically limited to viewing variables and the state of things by using a Serial Monitor window to display things as the program runs. But, since there are always several ways to accomplish the same task in programming, usually changing something is not working and taking another route will cure whatever problem might exist.
But the first big task was to convert the CD’s and other shows and newscasts from that time period to the proper format. Since a lot of the files I downloaded were of very poor quality, I also had to go through each one to make sure it was complete and that it was of good enough quality to be used. I also had to do some editing to get rid of long silent spots at the start or end of the files. It took a lot of time to finally end up with the 4000 plus files that I chose to use for the project. Audio and MP3 software Tools like Audacity, Pazera Free Audio Extractor and MP3 ID3 Tag removers were in use almost constantly for several weeks cleaning up these files for use. Once I had the files cleaned, I organized them into the groups that I wanted to use for each “Station” and put them in separate folders.
I also wanted to used enough files to fill up the 32GB Micro SD card that I was using for the MP3 Player so that I could keep enough variety in the random playing to keep it from sounding like a broken record so to speak and playing the same tunes and sequence over and over again.
So after a LOT of trial and error, I finally came up with a numbering scheme for the mp3 files and copied them all to the SD Card.
In the process of doing all of this, there were a few songs that I wanted to always be the first to be played when a station was tuned in, so I programmed the Arduino to choose from the list of favorites first. Then it goes into a random sequence and plays random files from the range for that particular station. And about every 10 minutes or so, an old commercial or news flash gets thrown in the mix!
Here is a link to the code that was used for the Arduino to run the project.
** Disclaimer ** I am NOT a programmer! I know enough about it to make it work, but I am sure this code is not even close to being efficient and properly written code. It was written to be somewhat easy to understand for the novice and those that want to be able to easily understand the concepts and flow used to make this work. 🙂
DISPLAY THE CODE FOR THE ARDUINO HERE
And here is a link to the Arduino Sketch File
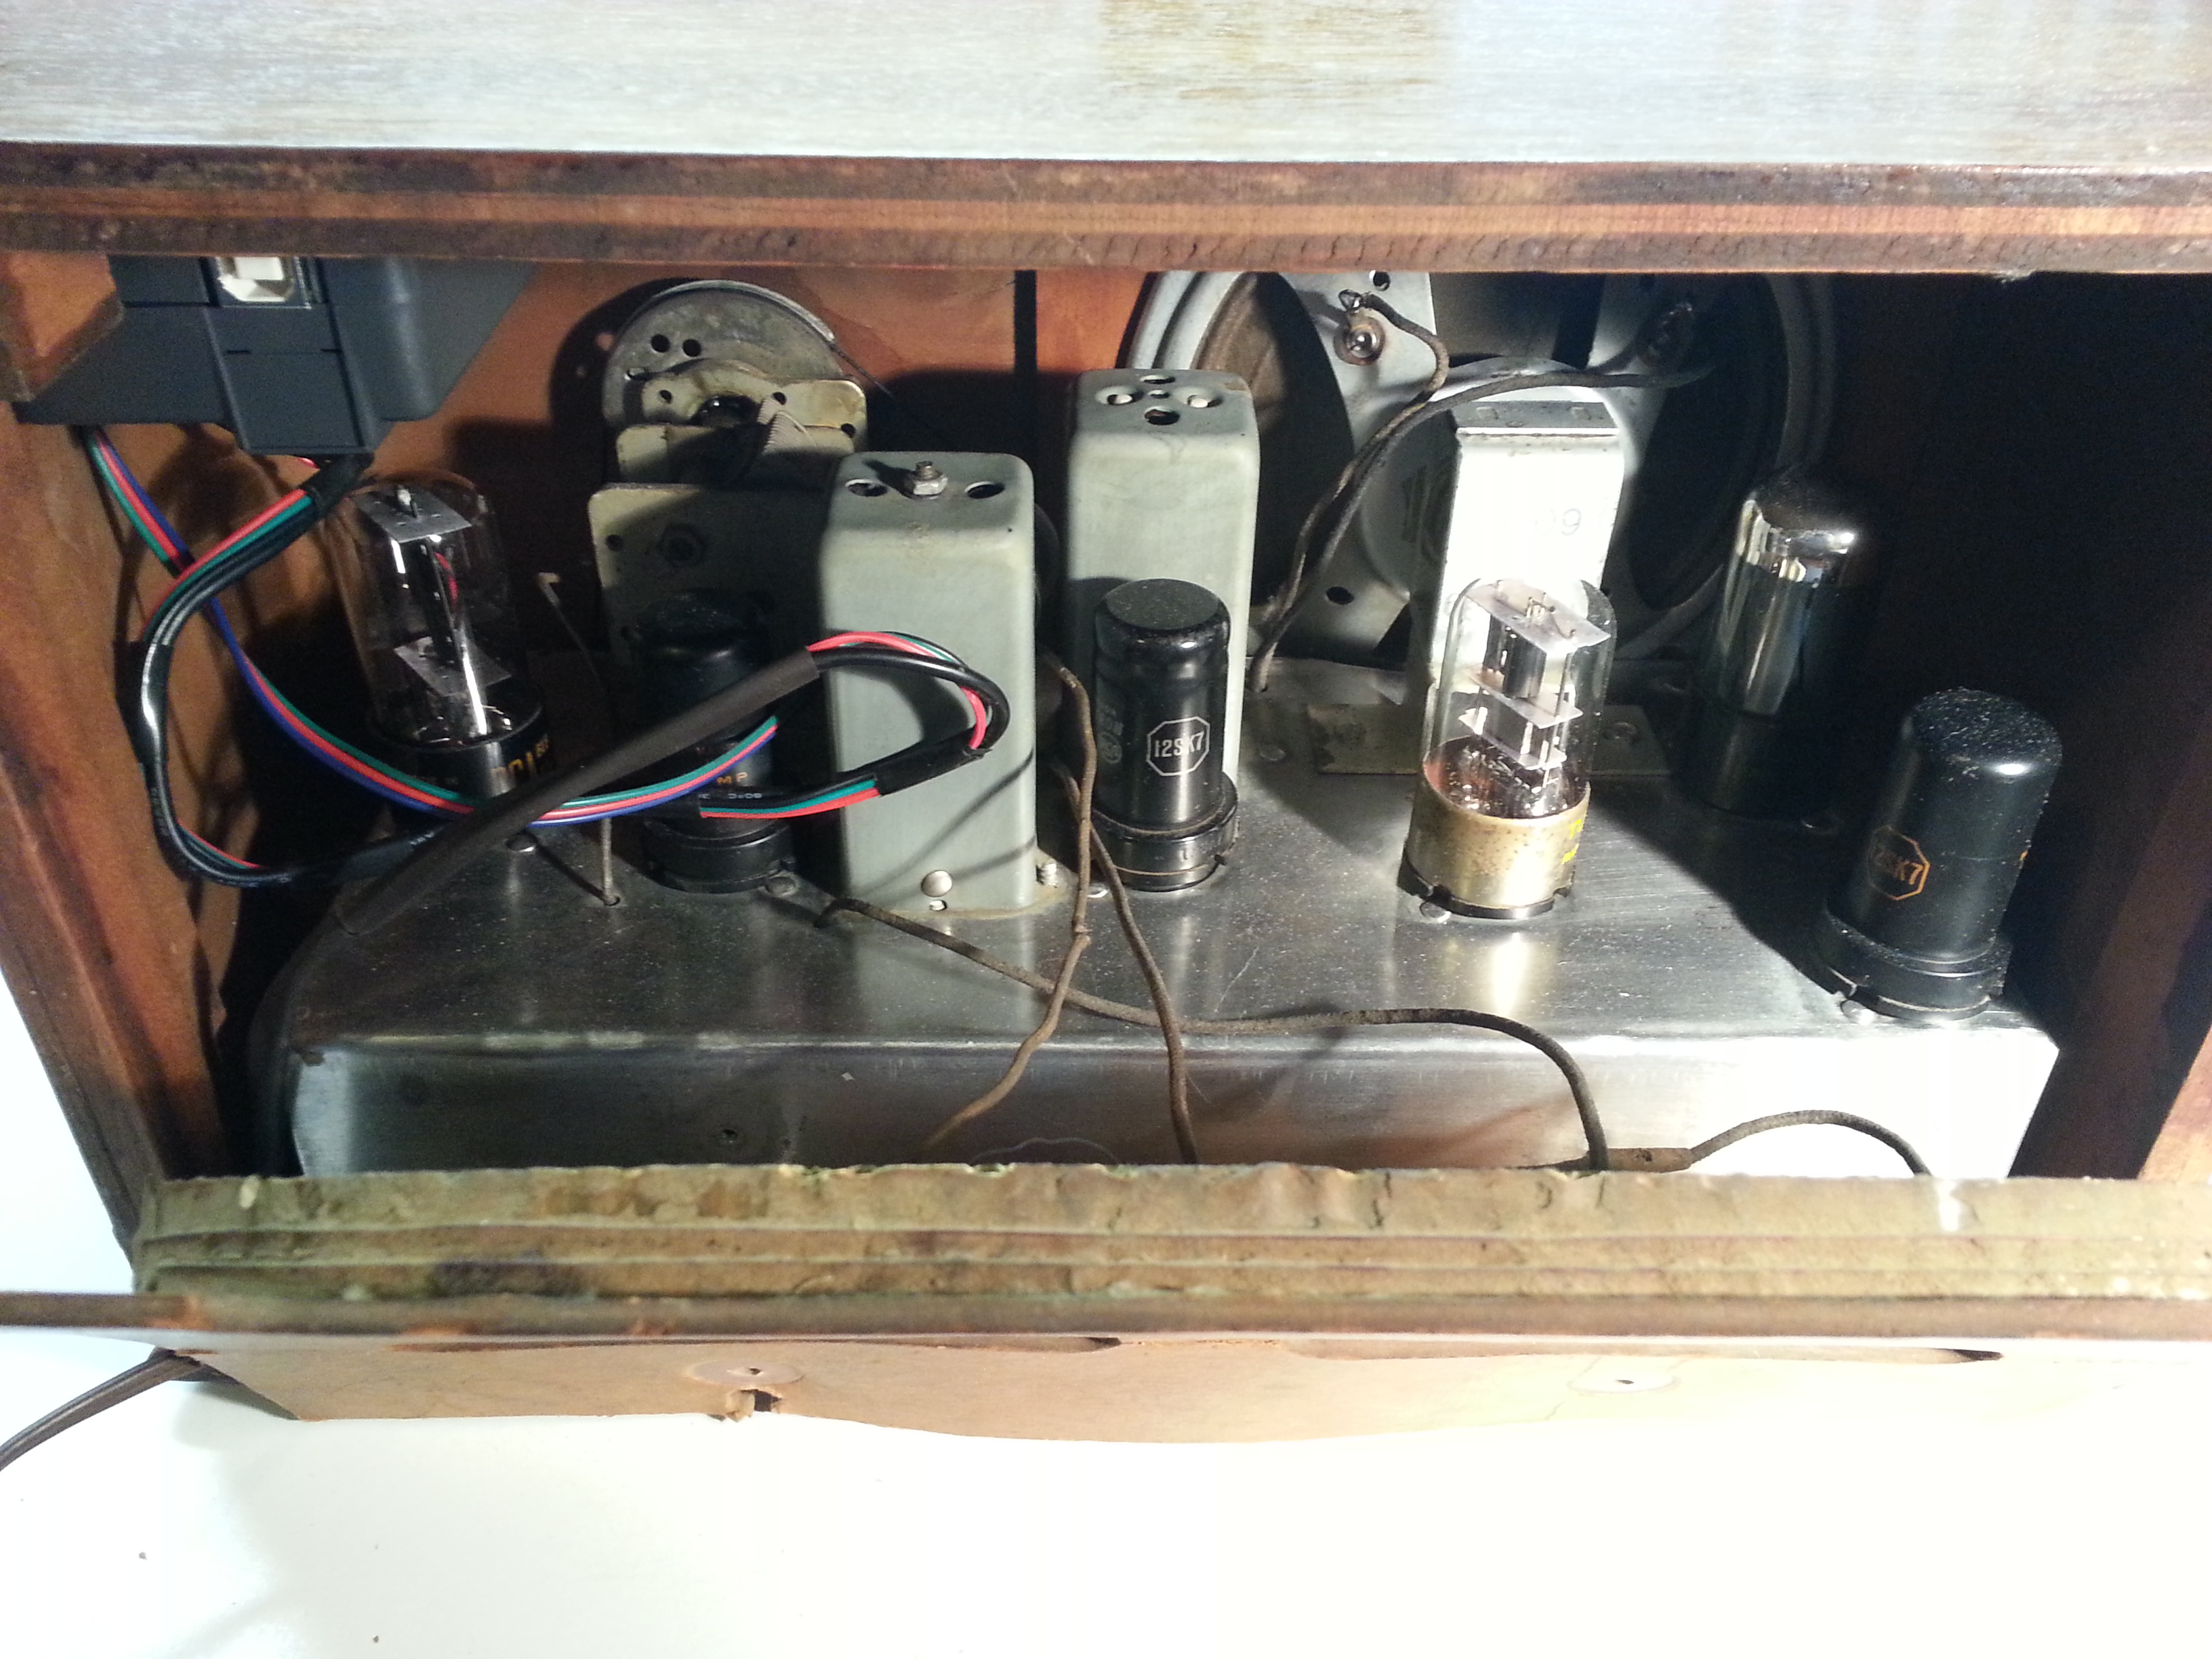
And here is a snapshot of the Arduino module and audio switching board enclosed in a case and mounted inside the radio.

And finally a video of the radio in action with all of the stations
Forward to Page 18
Back to Page 16
Back to the Table of Contents

Leave a Reply
You must be logged in to post a comment.