Vintage 1946 Sonora AM Radio Restoration – 19 – Hammering the Brass Bell
Vintage 1946 SONORA AM RADIO RESTO-MOD PROJECT
Hammering the Brass Bell:
Here is some info and photos of the process I went through to create the brass bell accent for the dial scale. The original Dial Scale frame was made of plastic and wasn’t really all that nice looking. But it did have a bell molded into the upper part of the frame as a Logo accent for the Sonora Radio Company (their slogan was… “Clear as a Bell!”) and this bell also provided a protruding cover for the dial light. So I wanted to do basically the same thing but I wanted to make the frame out of Mahogany and the bell was going to be fashioned from a sheet of brass. At least that was my plan! I had never tried to work with metal using a hammer before so it remained to be seen if I could figure it out and make it work.
I started off by creating a mold of sorts into a few pieces of hardwood. One mold was the indention in the shape of the bell I wanted to make and the other was a rounded surface to help with hammering the brass into shape. I used two different sizes of Ball Peen hammers and started by slowly hammering the brass into the basic shape I was looking for. I worked on this for several hours using a torch to heat the metal to soften it a bit and just kept slowly working it into shape. I was starting to think that it wasn’t going to work because I just could not get it to hold the shape I was looking for to start with and the hammered and heated metal just looked AWFUL!!!
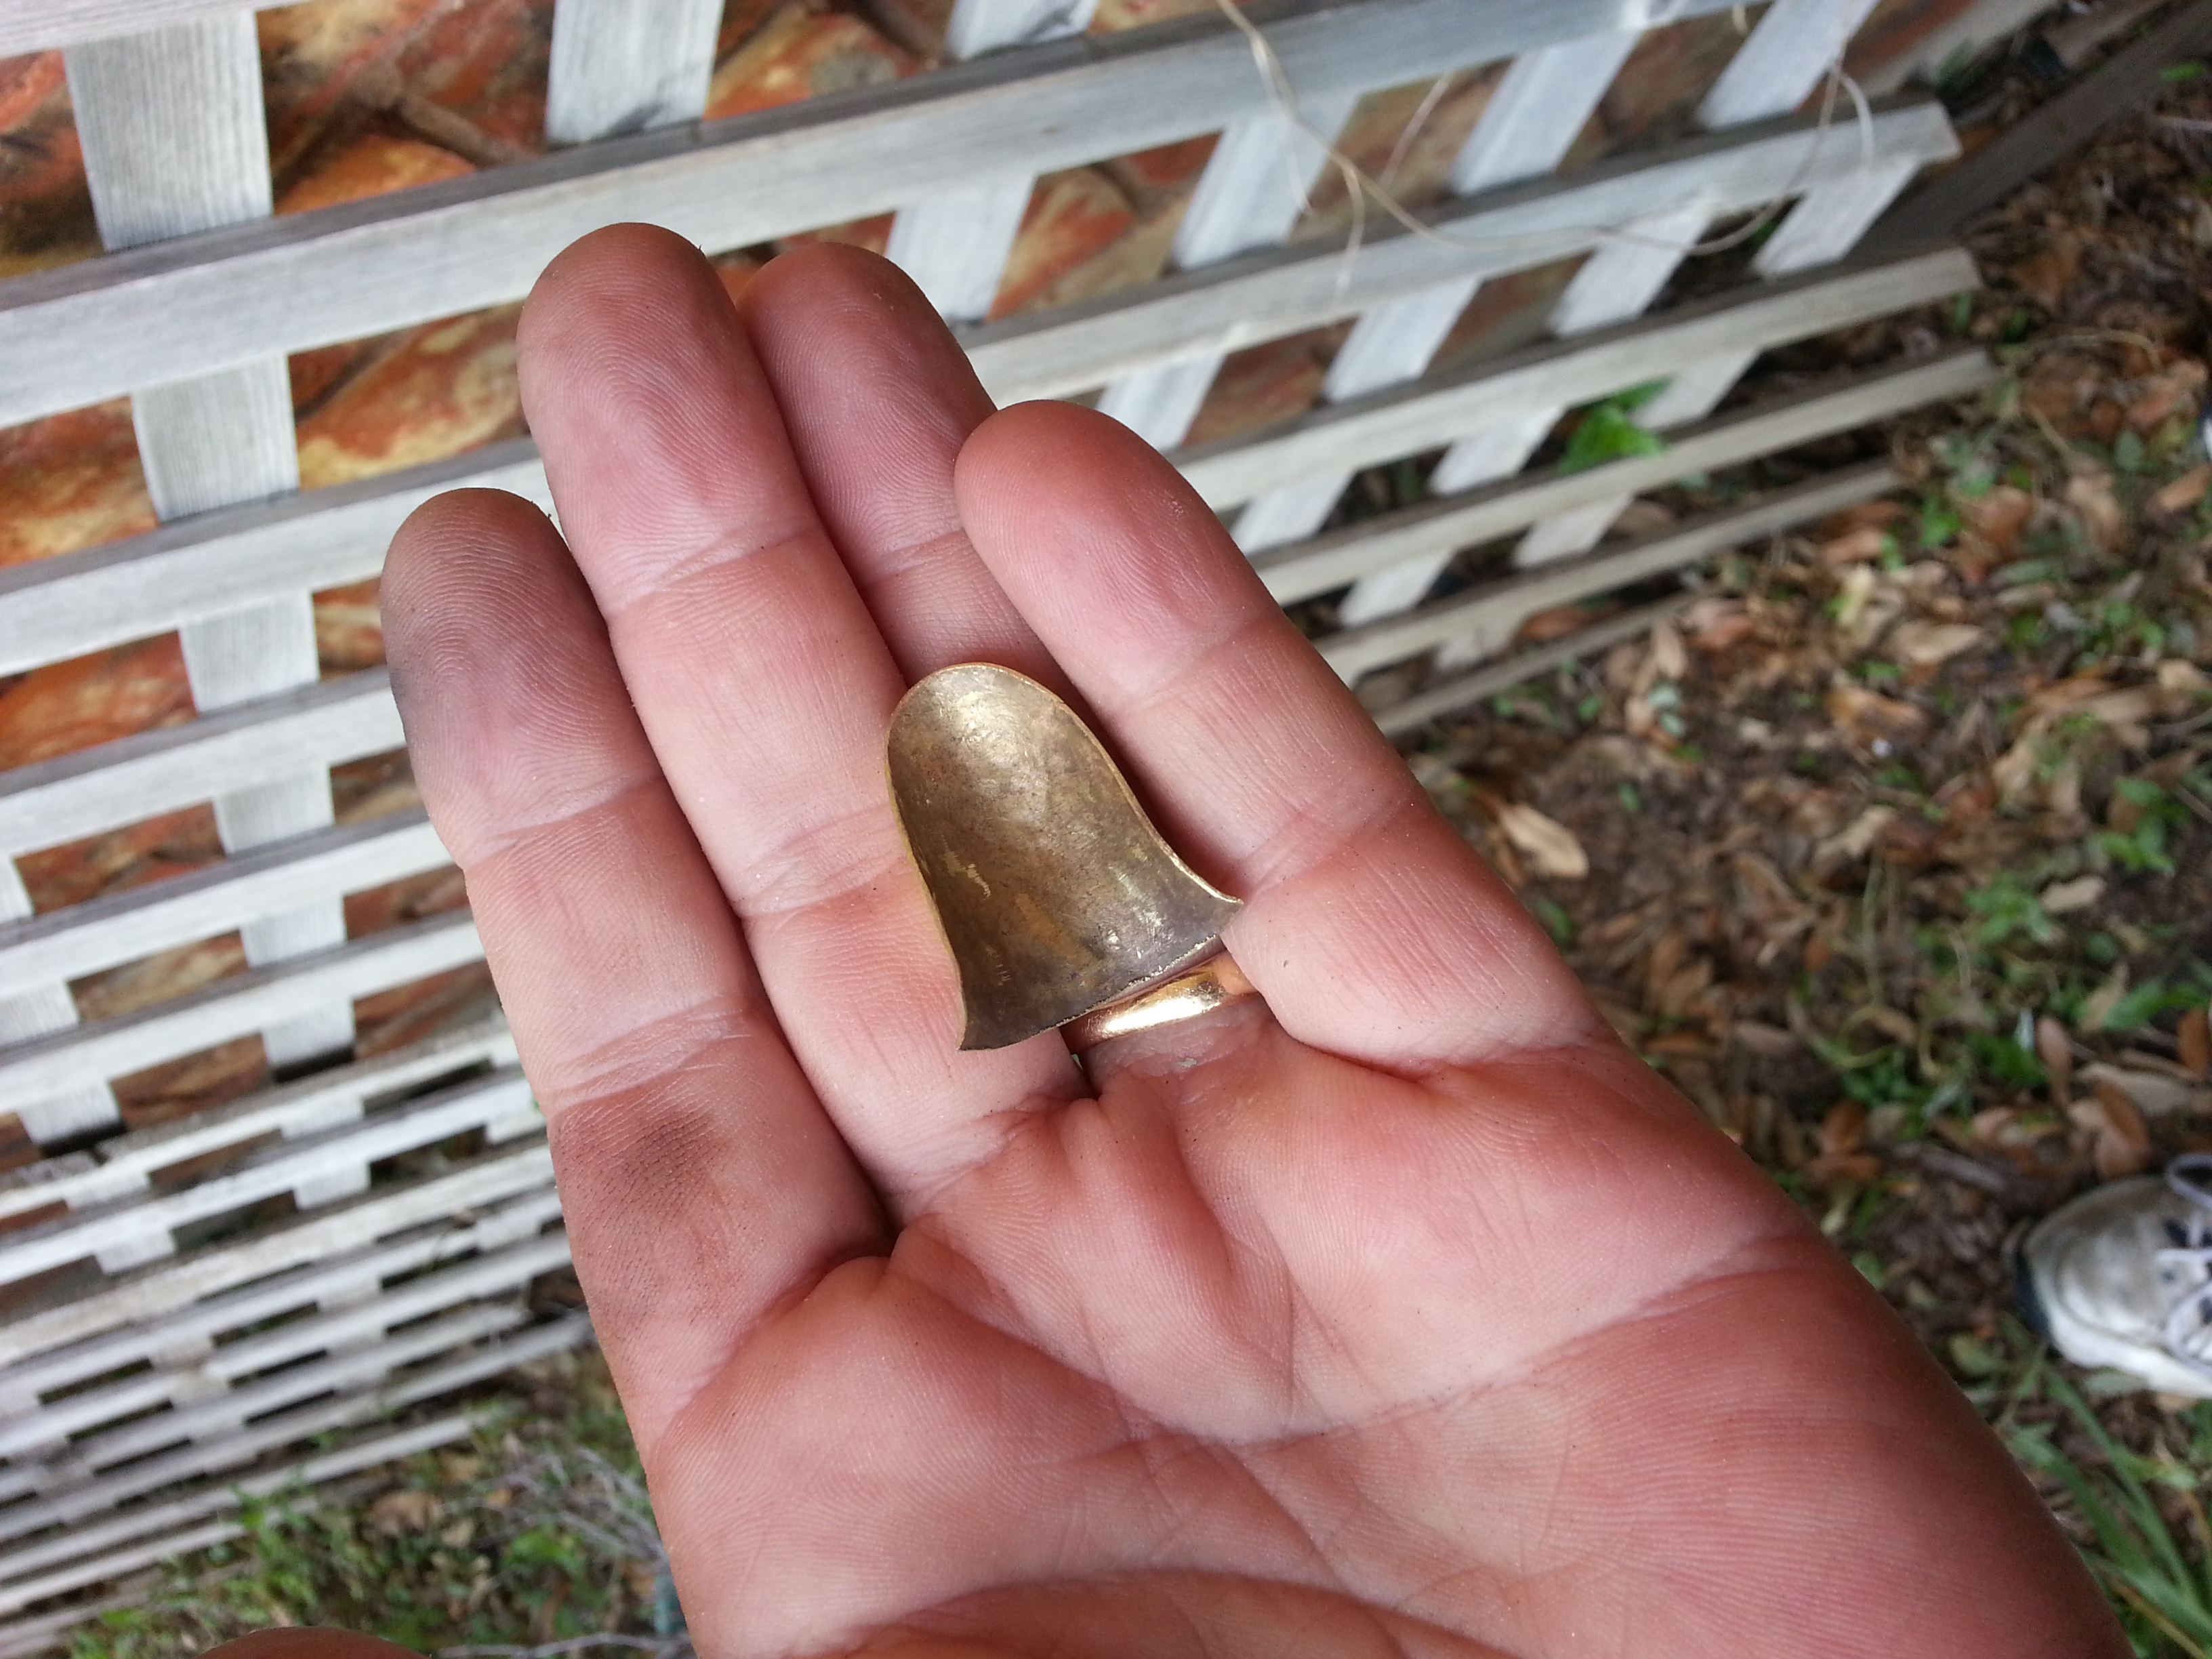
But I kept at it and after several hours of hammering, it was finally starting to hold the shape of the bell! Once I had the shape, I used a Dremel tool with a cutting wheel to grind away the excess material. It still looked like crap but I was hoping that it was smooth enough that a little progressive sanding and polishing would give it the finish I was looking for.
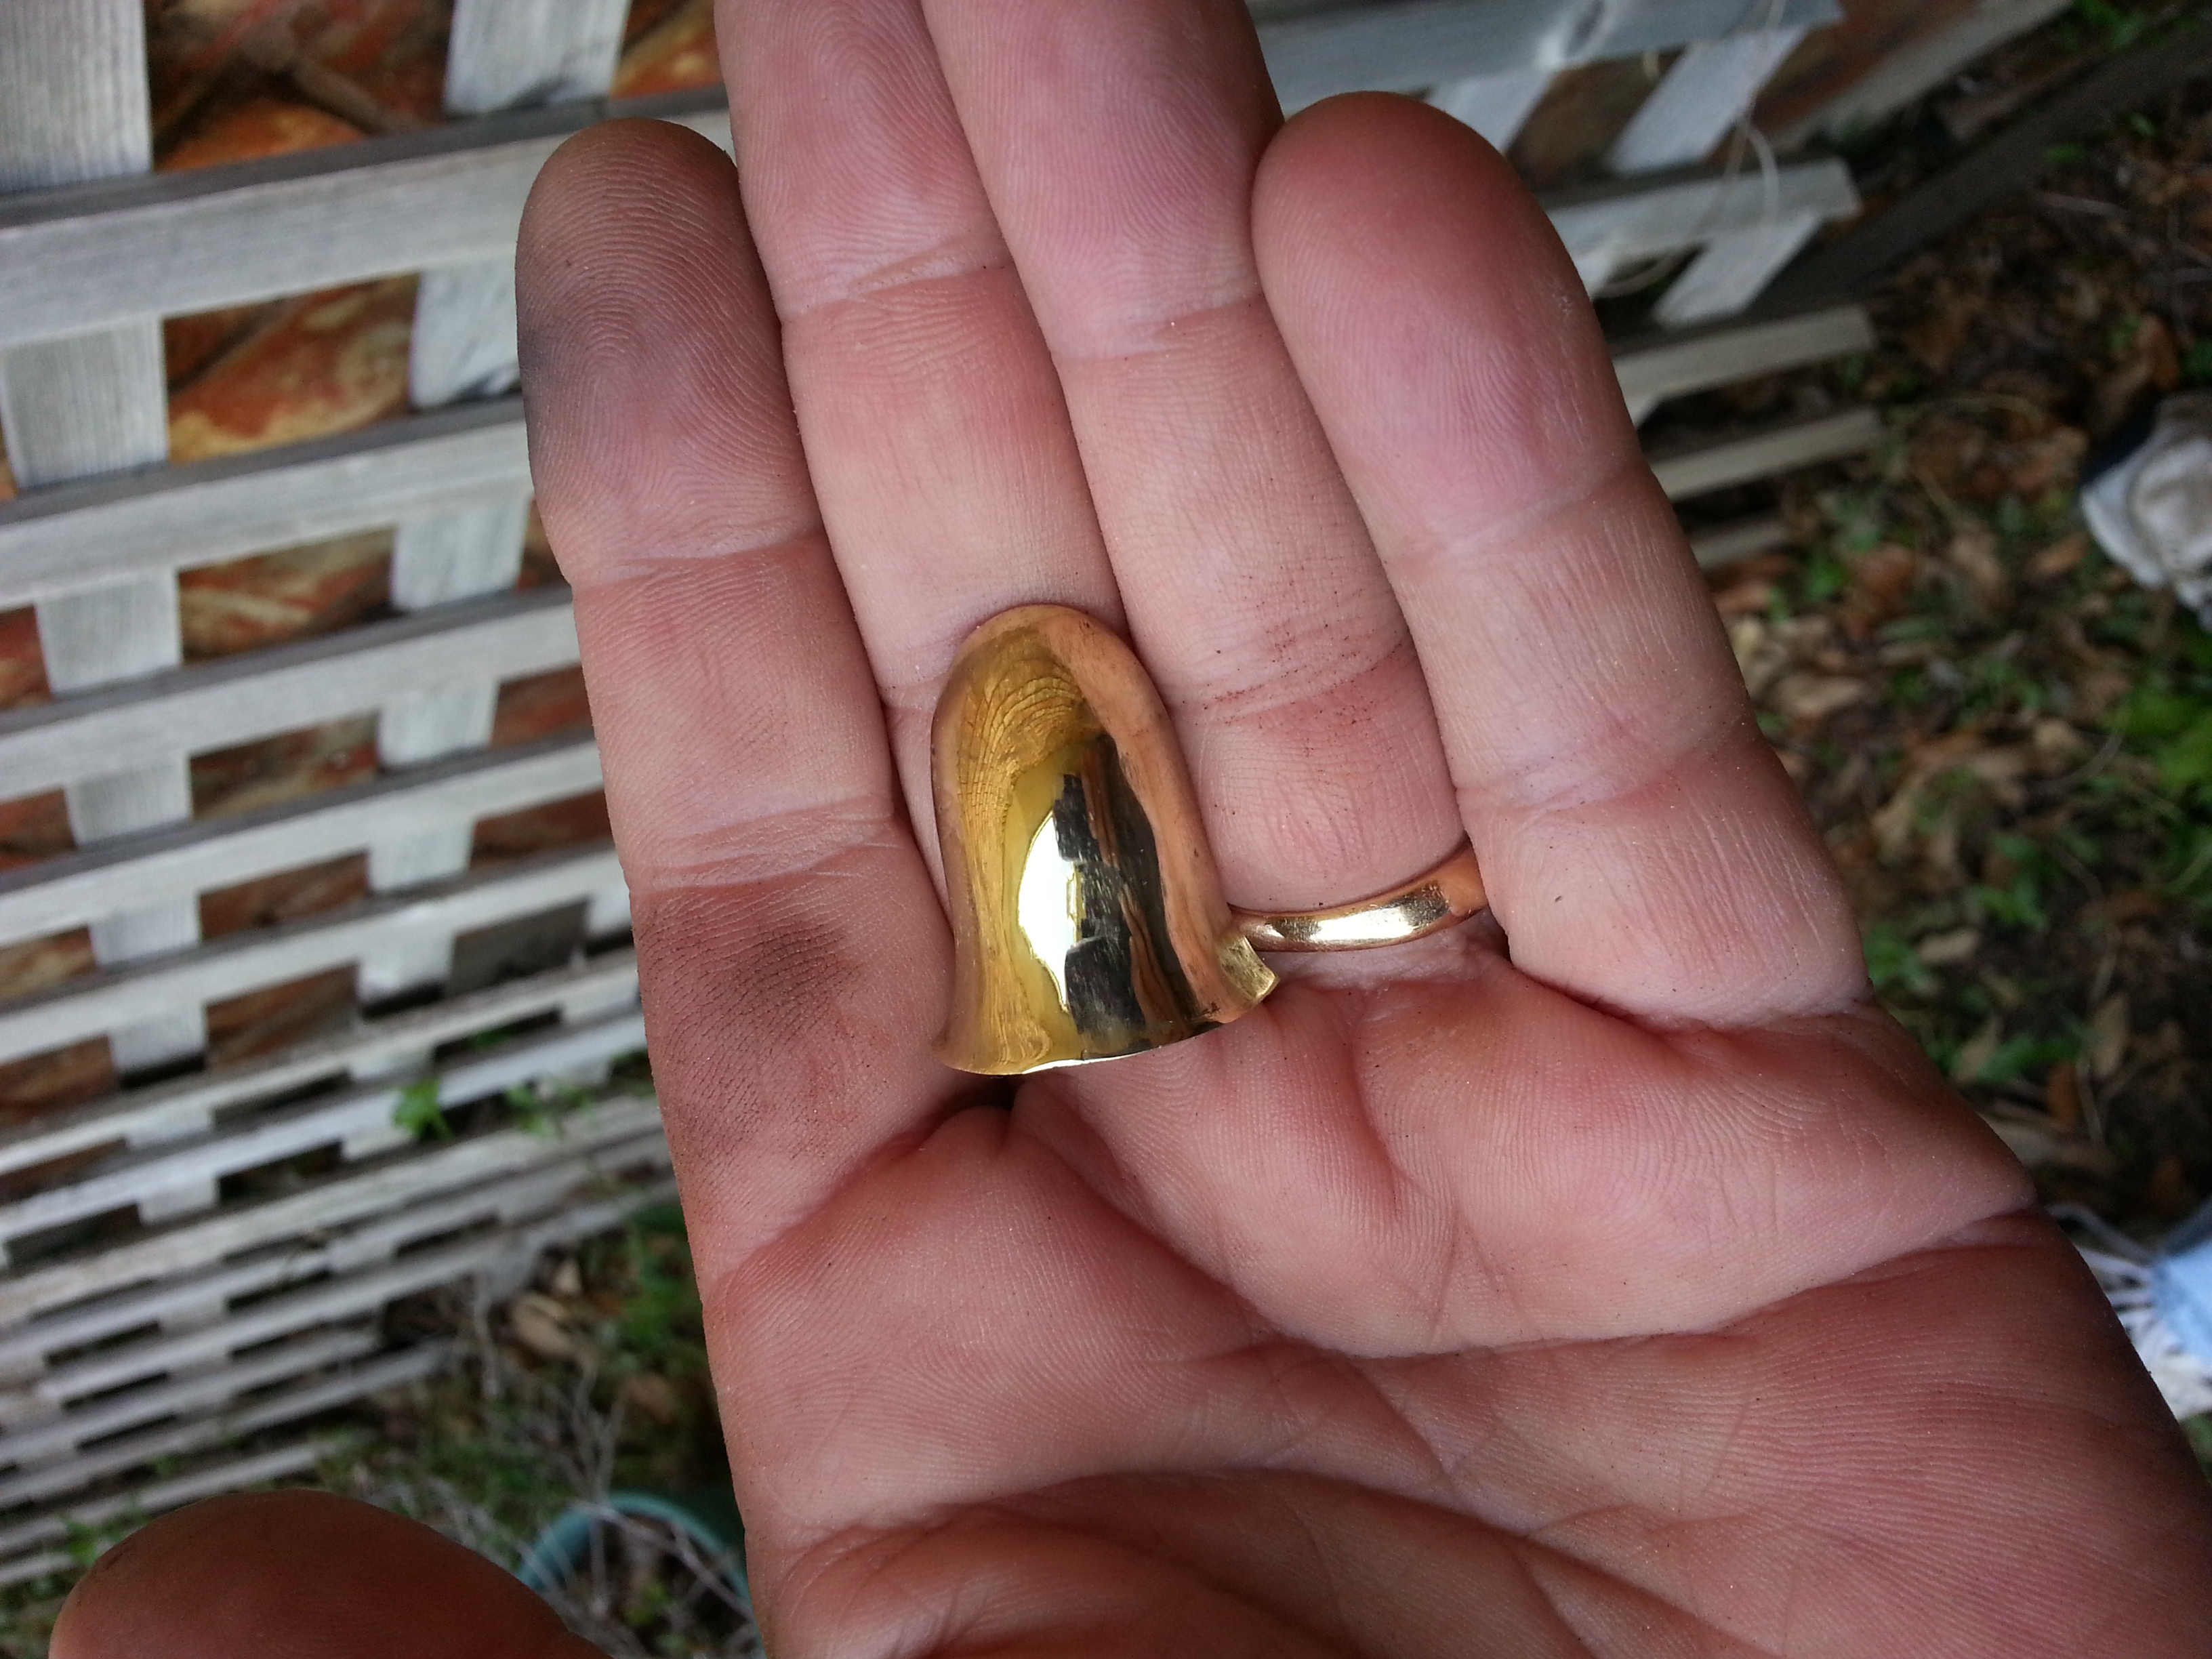
After some rough sanding with the dremel tool and some progressively finer sanding with wet sandpaper, the finish started to come out! It was nowhere near perfect, but it looked great for a 67 year old radio! 😉 A few final touches on the polishing wheel and a little Brasso and it was ready!


Forward to Page 20
Back to Page 18
Back to the Table of Contents

Leave a Reply
You must be logged in to post a comment.