Vintage 1946 Sonora AM Radio Restoration – 09 – The Vacuum Tubes
Vintage 1946 SONORA AM RADIO RESTO-MOD PROJECT
The Vacuum Tubes:
With the chassis and rest of the electrical components ready to roll, it was now time to focus my attention on the tubes. I guess with tubes it was going to be one of three things. Either they would be broken and it would be visibly obvious as to why, or they would be broken and not visibly obvious, or they would be fine! So my attention was spent on them to mainly just to clean them up and make sure there was no obvious damage or loose pieces floating around in them. I spent some time with a towel and some cleaning solution to clean the dust off of them and double checked the identification numbers on them. I looked at them carefully for damage or broken glass. I also checked them out inside (for the ones that were glass and I could see inside them) to see if there were any loose parts or anything that was obviously broken. They all seemed in tact so I was convinced they were at least worth giving a try.
I also checked online to see if I could buy replacements for them (just in case) and found them easily. So no problems there. Once I had them cleaned up, I placed them back into the sockets that they were in originally paying attention to the keyed slot to make sure they were inserted correctly and it was time to think about applying power to the unit to see if it worked! 😉
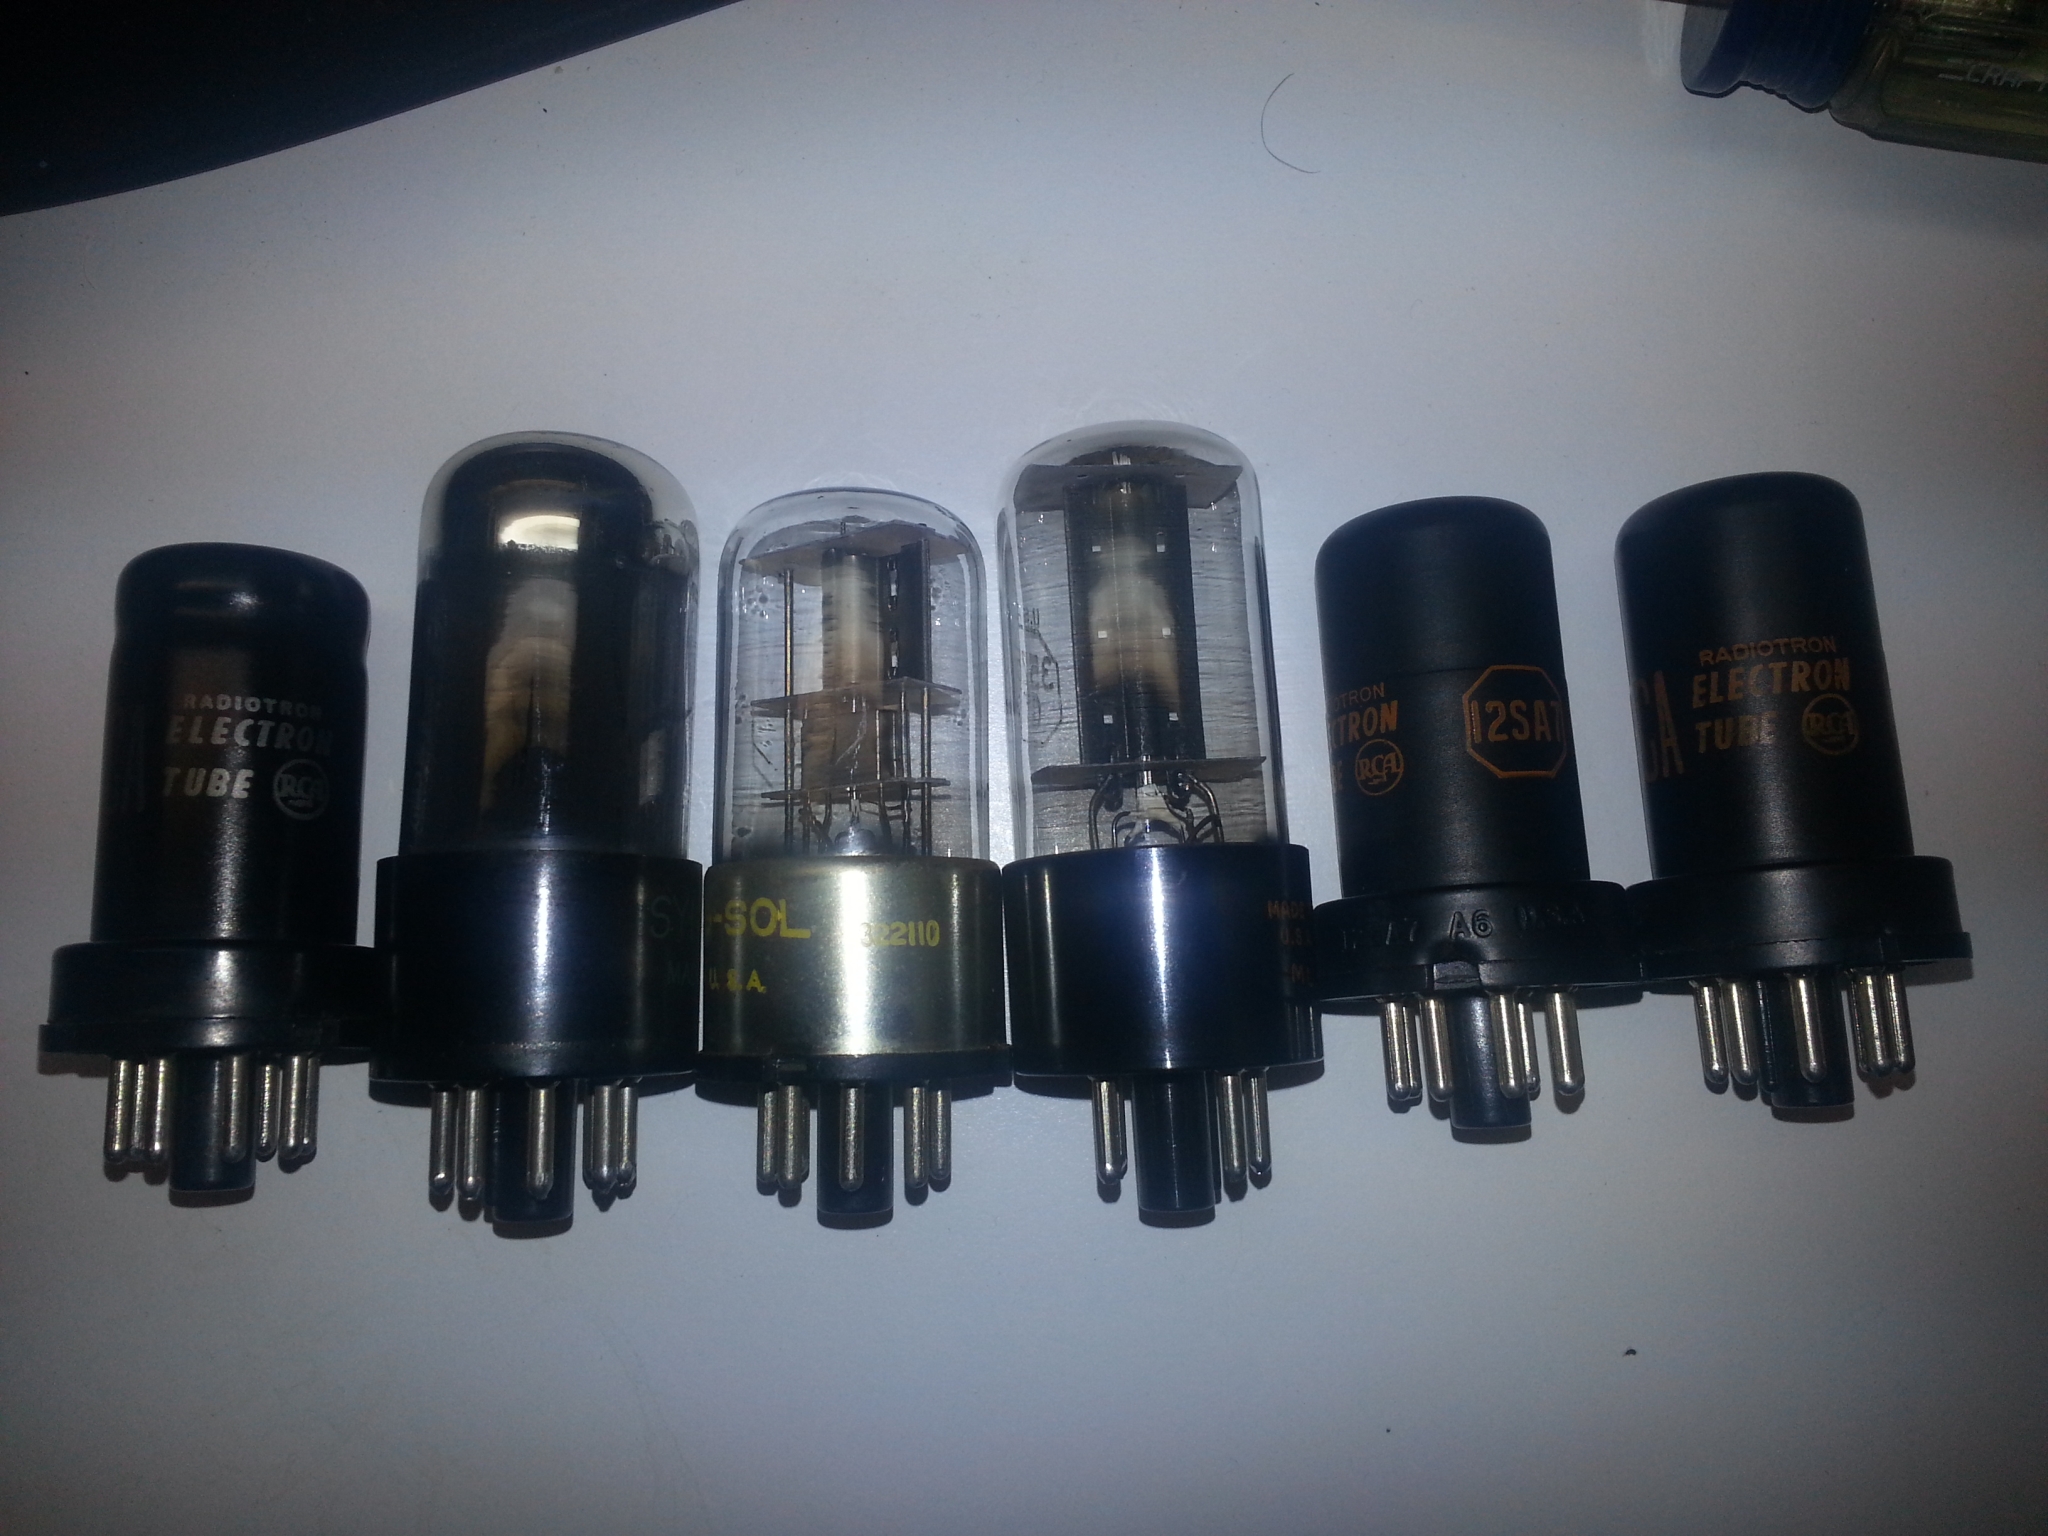
Here is the Tube line up for this specific radio
Forward to Page 10
Back to Page 08
Back to the Table of Contents

Leave a Reply
You must be logged in to post a comment.