Vintage 1946 Sonora AM Radio Restoration – 05 – Cabinet Refinishing
Vintage 1946 SONORA AM RADIO RESTO-MOD PROJECT
Cabinet Refinishing:
Refinishing the cabinet was the first thing that I decided to work on. I knew it would take several days to apply several coats of tung oil finish to the wood once I had it stripped down so I wanted to get started on the process to have it ready when I finished the work on the electronic pieces to get the radio in working order. I used a product called “Formby’s Furniture Refinisher” which is something that I have used many times in the past to restore old antique furniture. It is basically a stripper that is very gentle on wood and you use a very fine steel wool to slowly strip the finish off the surface of the wood. This stripper gets down into the wood and will condition it as well. A very nice product and it does a fantastic job!
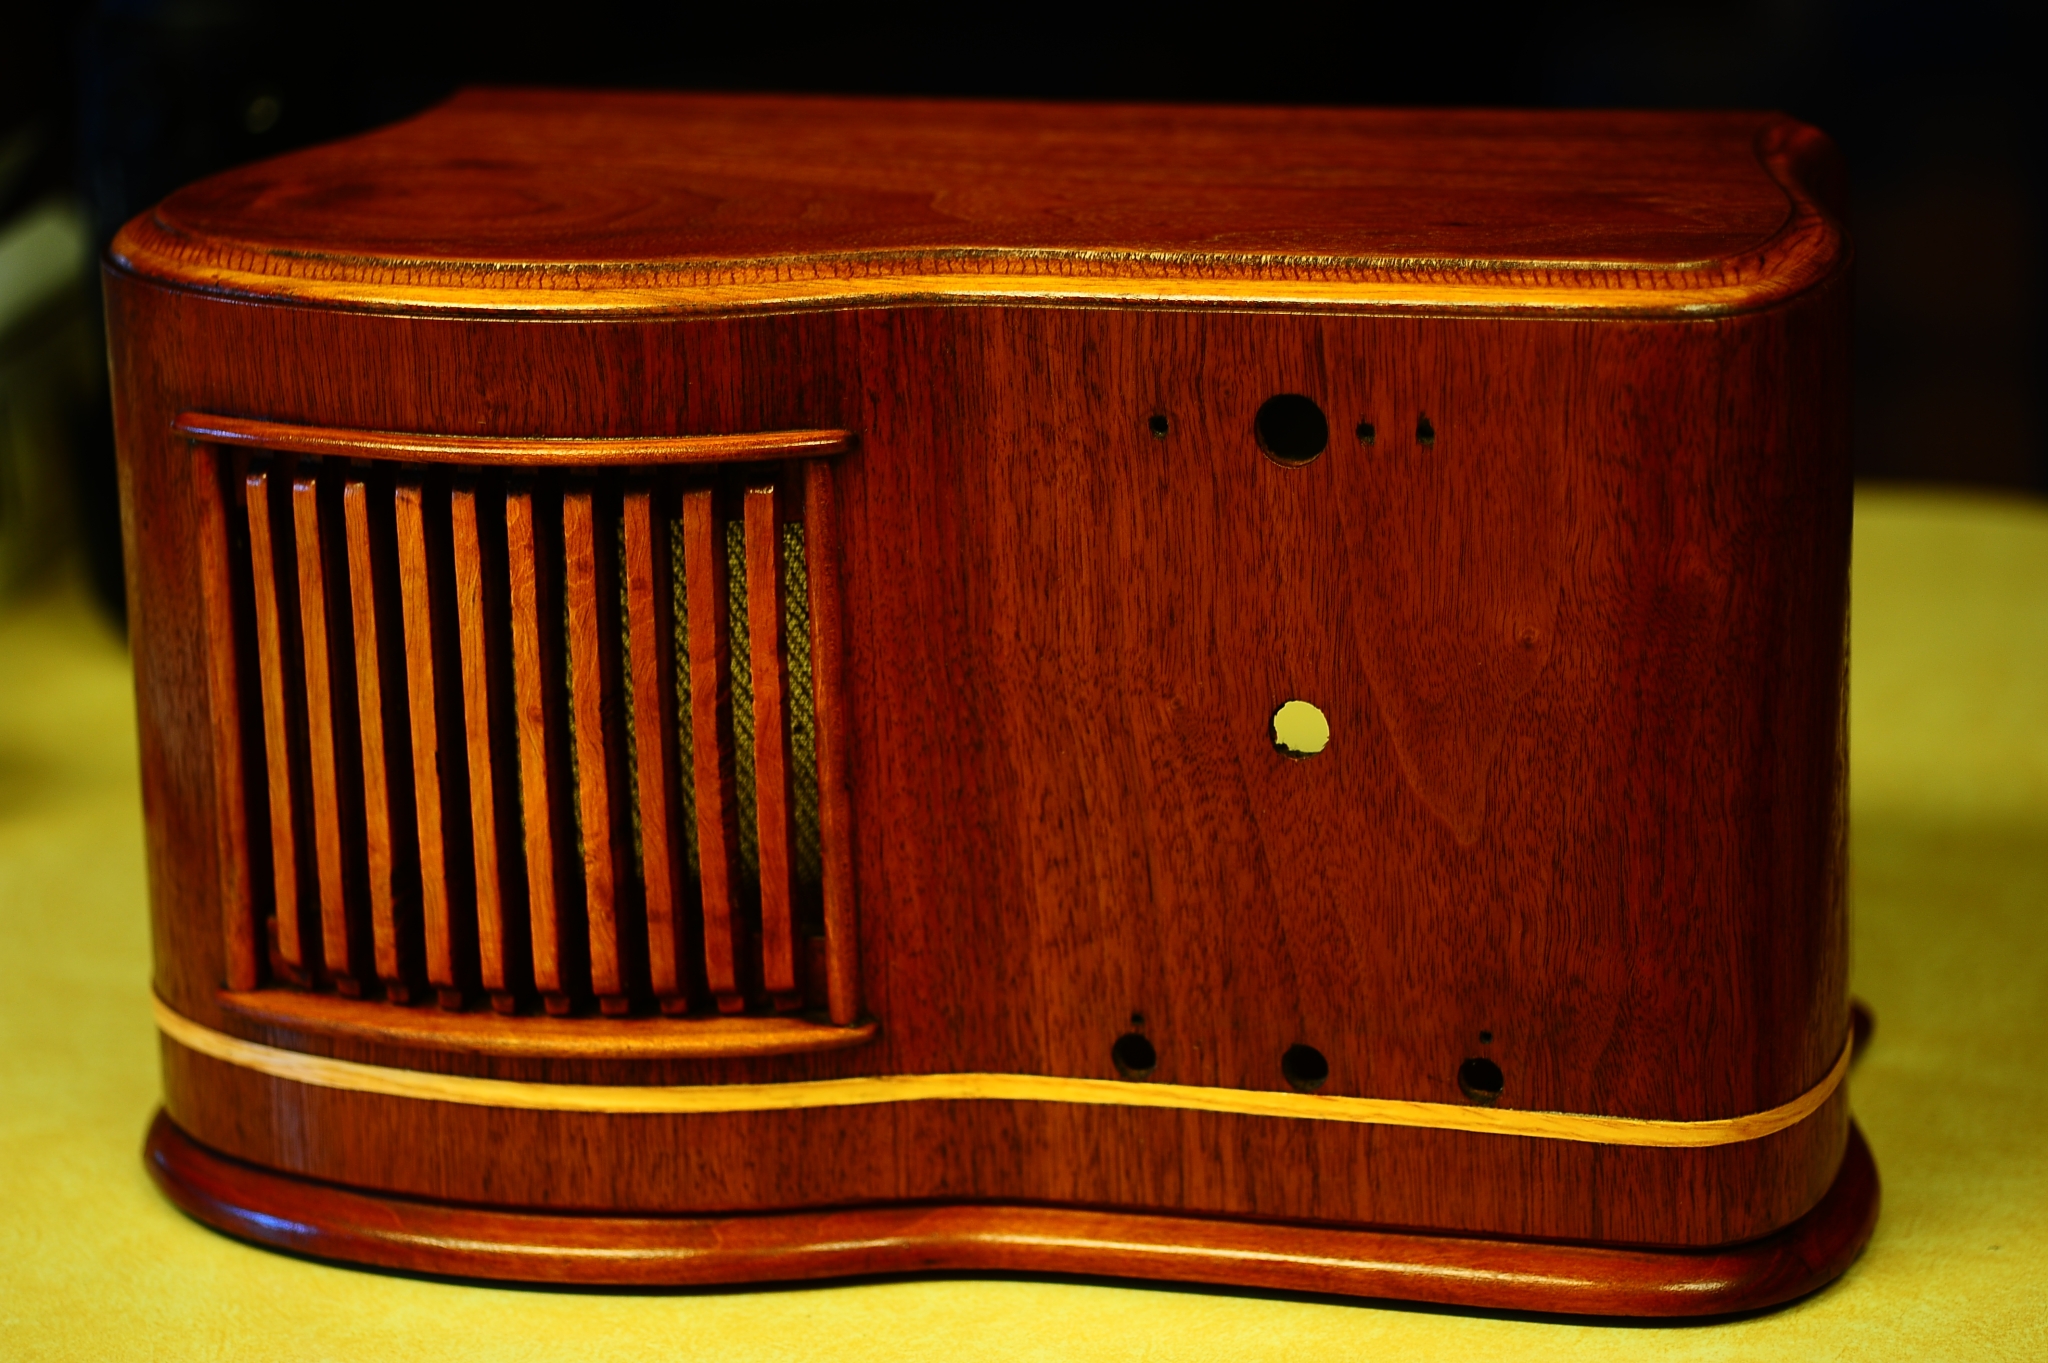
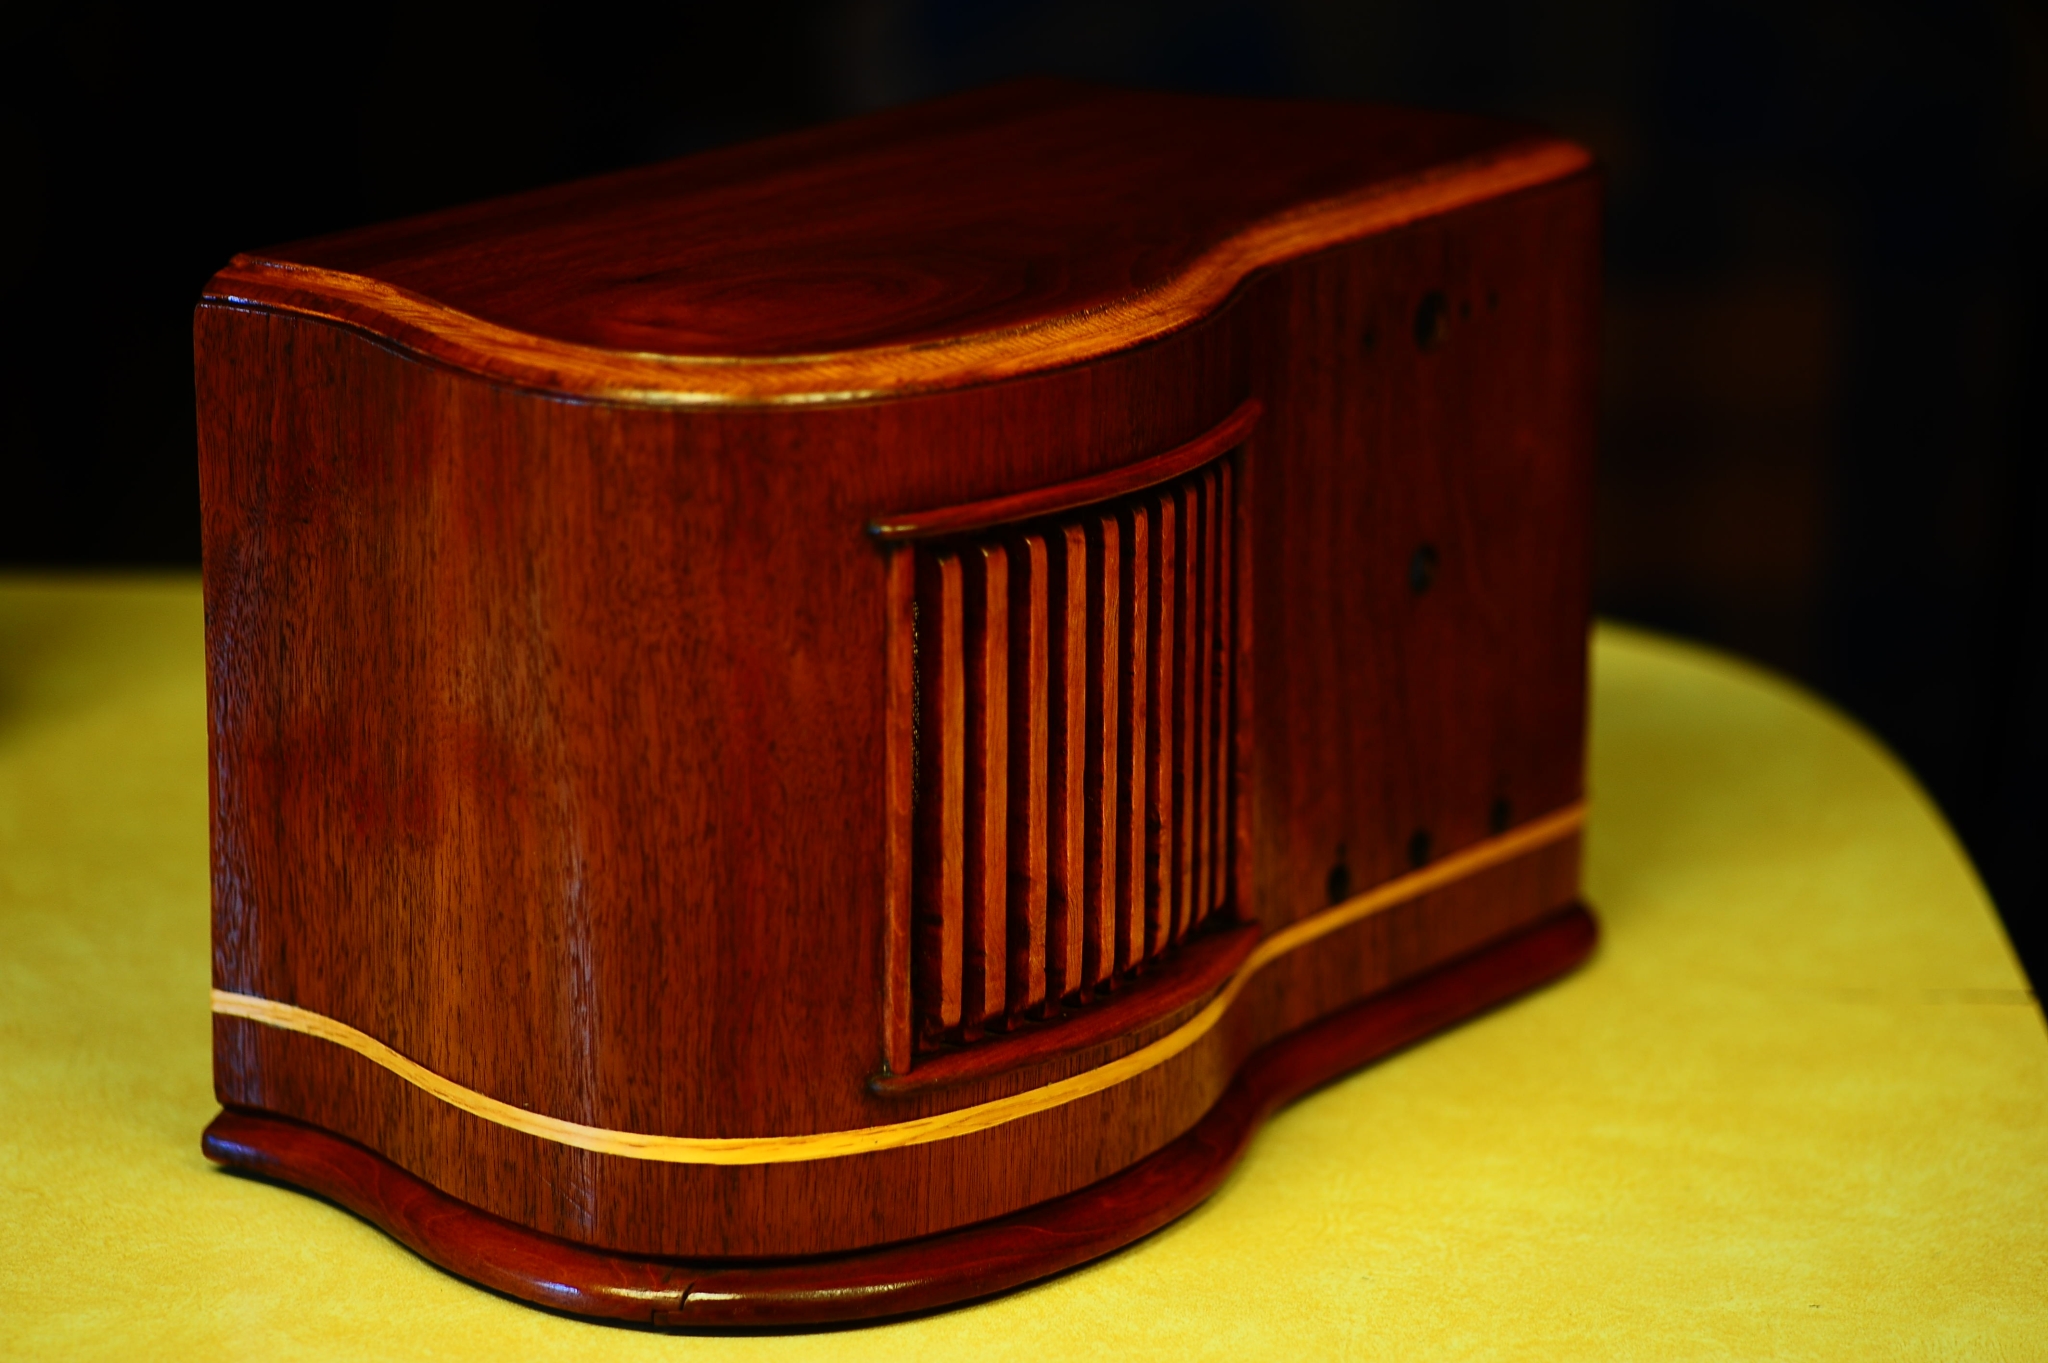
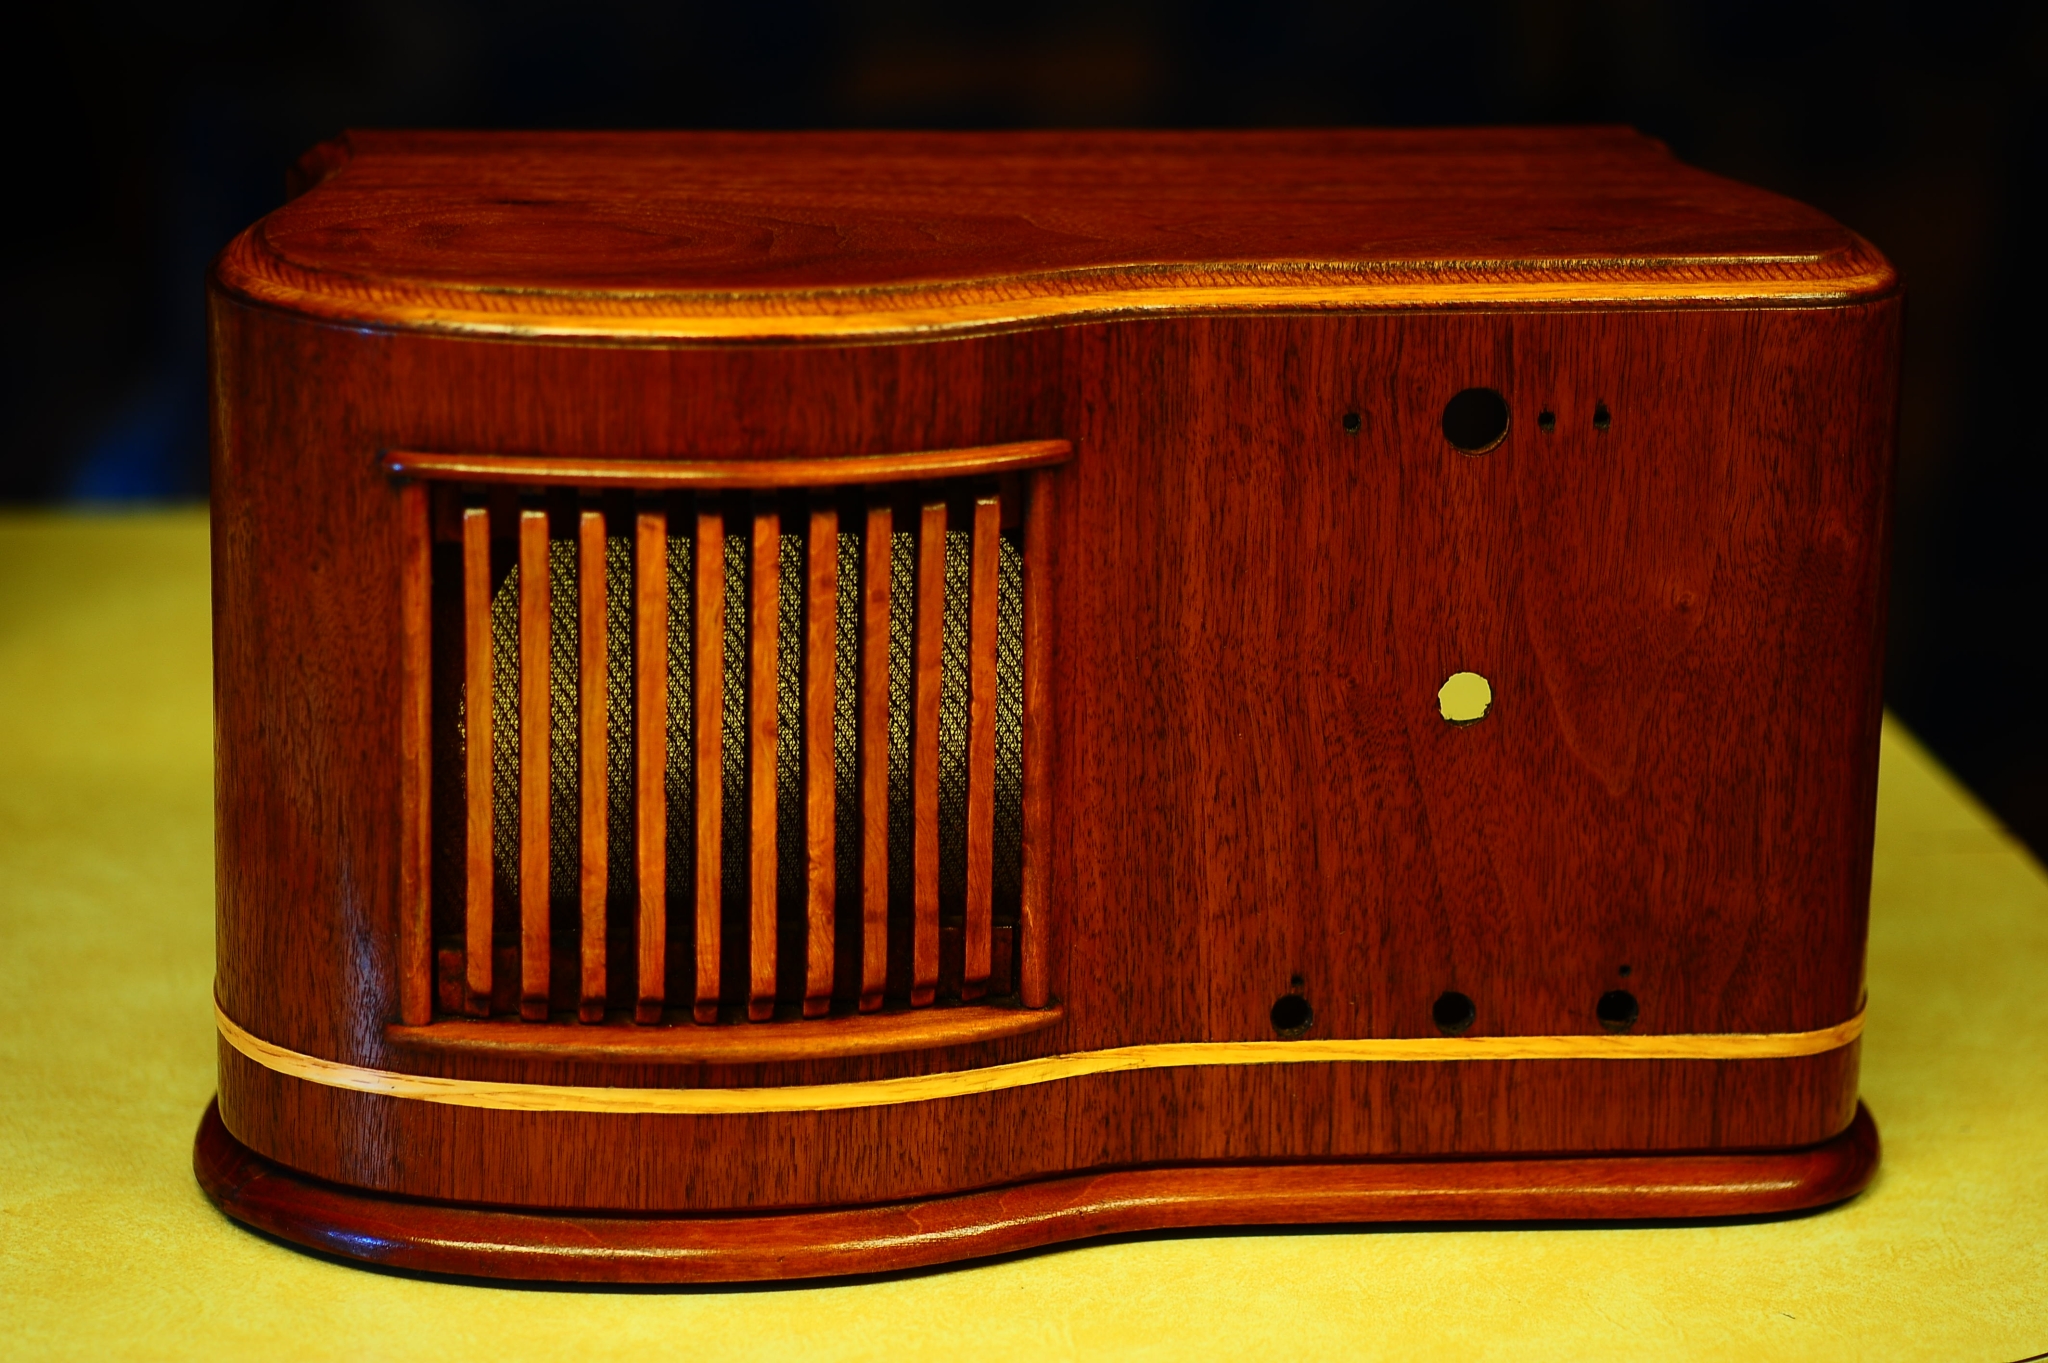
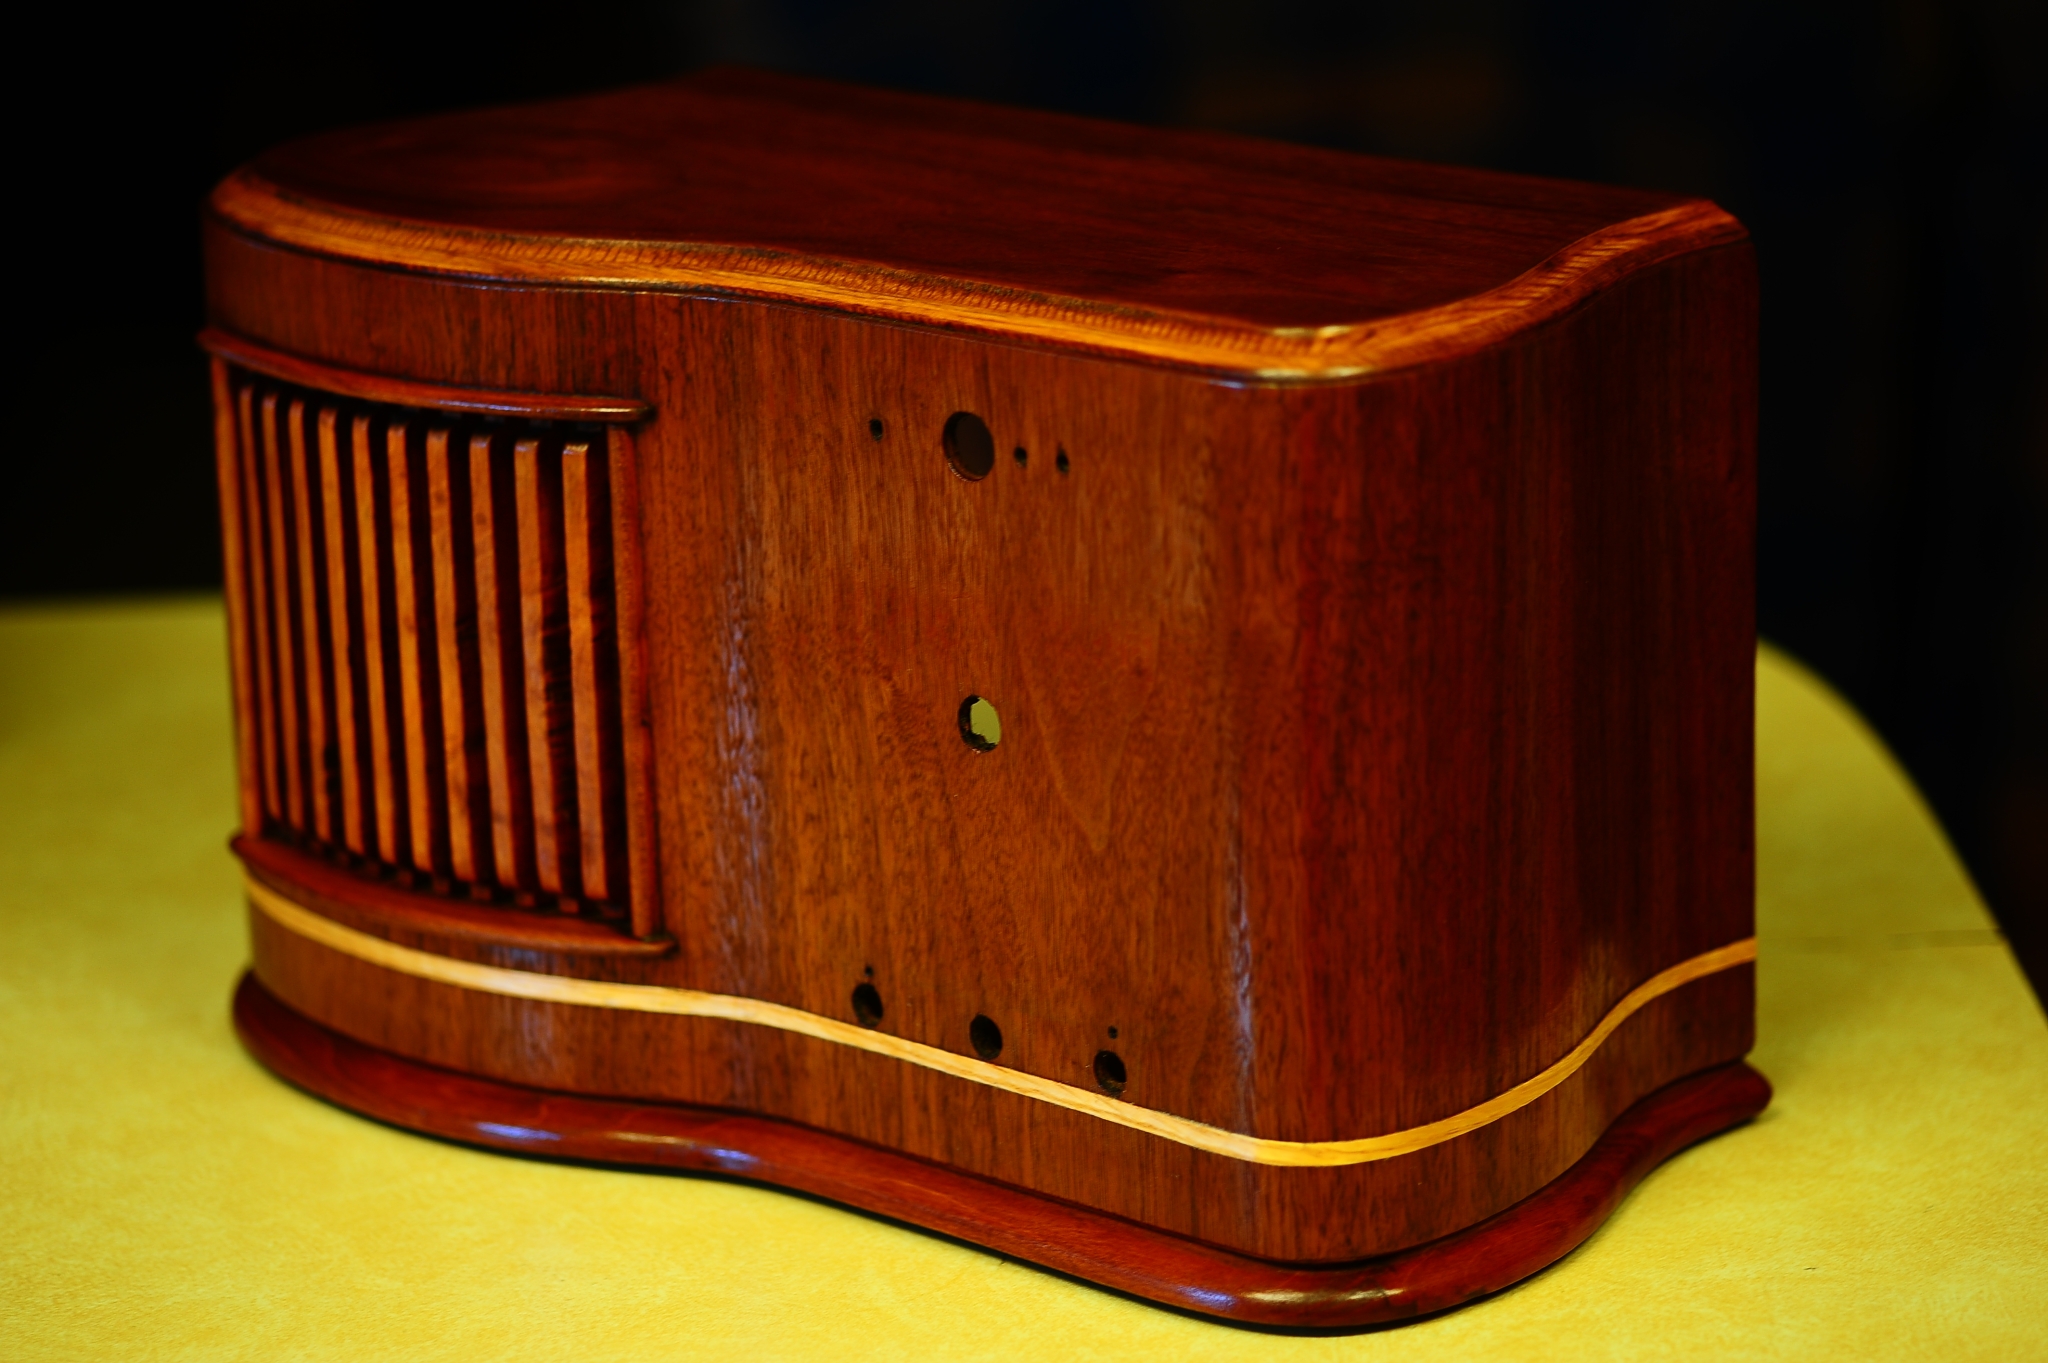
First, I used an air compressor to blow out all of the dust in and around the cabinet. Then I started to work on it with the re-finisher. While I was stripping it, I found that the manufacturer had used a dark brown paint basically to paint the routed edge on the top of the cabinet to basically hide the fact that it was veneered plywood. But it still looked nice without the paint on it so I decided not to replace the paint and continued to strip it off. There was also a taped-on stripe around the bottom of the unit just below the knobs that had a “burl” look to it, but it came off fairly easily with the stripper. And since I didn’t have anything like that to replace it, I decided to cut a strip of red oak veneer to put in its place. I guess it is possible that I could have found some burl veneer for this too but I liked the idea of the lighter color accent. Red oak is a much lighter colored wood than the rest of the case so the accent was much more noticeable and looked very nice mixed in. The red oak veneer was of the “Iron-on” variety and basically had some hot glue on the back side of it so getting it attached with a a hot iron was relatively easy! 🙂
Before I attached the red oak strip, I finished stripping the cabinet by going over it several times with the stripper and steel wool pads. I also let the case sit for a day or two to let the stripper evaporate. Then, with the red oak veneer strip attached, I then started rubbing on coats of Tung Oil with a lint free cloth and let each coat dry for about 24 hours before putting the next coat on. I also lightly buffed the surface of the cabinet with steel wool between each coat and used a dust cloth to remove the dust before moving on to the next coat of tung oil. This helped to smooth out the finish and get rid of any imperfections that might have been left by dust settling in the Tung Oil finish as it dried. I continued this process until I had 5 coats of Tung Oil on the cabinet which brought out a gorgeous finish!
Here are a few photos of the finished product:
Forward to Page 06
Back to Page 04
Back to the Table of Contents

Leave a Reply
You must be logged in to post a comment.