Vintage 1946 Sonora AM Radio Restoration – 13 – More Thoughts on Bells & Whistles
Vintage 1946 SONORA AM RADIO RESTO-MOD PROJECT
More thoughts on the Bells & Whistles:
In the mean time, I have started to think about the frame for the dial scale and some of the other things I plan to add to the radio. I have put aside some scrap Honduran Mahogany and will be using that for the base and top frames for the Dial Scale. I also will be incorporating some brass extrusion for accent. I have some thin sheet brass and my thought is to attempt to hand fashion a little brass bell that will be used for the dial light cover similar to what the bell in the original radio did. 🙂
I have also put a little more thought into how I am going to integrate the Micro-controlled MP3 player into the radio and basically keep the radio, and Micro-controller board with MP3 functionality isolated from each other to keep the high voltage of the radio from blowing up the low voltage micro-controller and also switch the inputs from the antenna to the MP3 player electronically. To get input from the radio, I am going to put a rotary pot in place with a pulley that will also be driven by the dial cord and tuner. This will give input to the Arduino Micro-controller on the positioning and can be used to pinpoint different areas of the dial scale to target for the 6 or 7 “stations” I have planned to add. The stations will be as follows:
1) 40’s Music 1 (General)
2) 40’s Music 2 (Big Bands and Crooners specific)
3) 50’s music
4) Sci-Fi Show Broadcasts
5) Comedy Show Broadcasts
6) Adventure Show Broadcasts
7) Mystery Show Broadcasts
And with all of this, I have some old commercials and news broadcasts that I am going to randomly insert between songs to make it a more realistic radio broadcast. It will take some work to get all of this lined up but since I can handle all of this programatically through the Arduino program, it should be fairly easy to get the music categorized into folders and then randomly pull files from the folders based on the station that chosen.
The idea behind the electronics with this is that the rotary pot will give input to the Arduino board while the dial is rotated. When it reaches a specific point defined by the program, the electronic switch will cut off the antenna input and get the input from the mp3 player instead through an audio transformer. The Audio transformer will isolate the mp3 player from the rest of the radio circuitry. The signal will then be amplified by the tube amps and play as though you had tuned in another radio station. At least that is the theory behind it all. We will see if I can turn it into reality! 😉
Oh! The Aruduino board will also need a power supply of between 5 to 9 volts. I plan on using a phone charger with enough amperage to handle that part and mount it directly inside the radio. I will just tie the part that would normally plug into the wall into the power cord for the radio beyond the power switch so that the power is turned off to the Arduino when the switch is turned off.
So why an Arduino? Because that is the micro-controller that I have the most experience with and I KNOW it will more than work for this application! And since I will be using an Arduino, I have already purchased a board that fits into the Arduino perfectly that is a ready made MP3 player! And it has a Micro SD slot for storage. So I will not be limited by space at all! This means I will be able to add several stations without the worry of running out of space!
Just as a side note, there were several interesting things that I learned in the process of digging into all of this. First off, I learned that Glenn Miller was the first person ever to receive a Gold Record and it was for the song “Chattanooga Choo Choo”! That song also became a number one hit on the charts on the same day that Japan attacked Pearl Harbor and remained number one for 9 weeks! I also found out that the last of the Andrews Sisters, Patty Andrews, passed away on January 30th of THIS year (2013) at the age of 94!
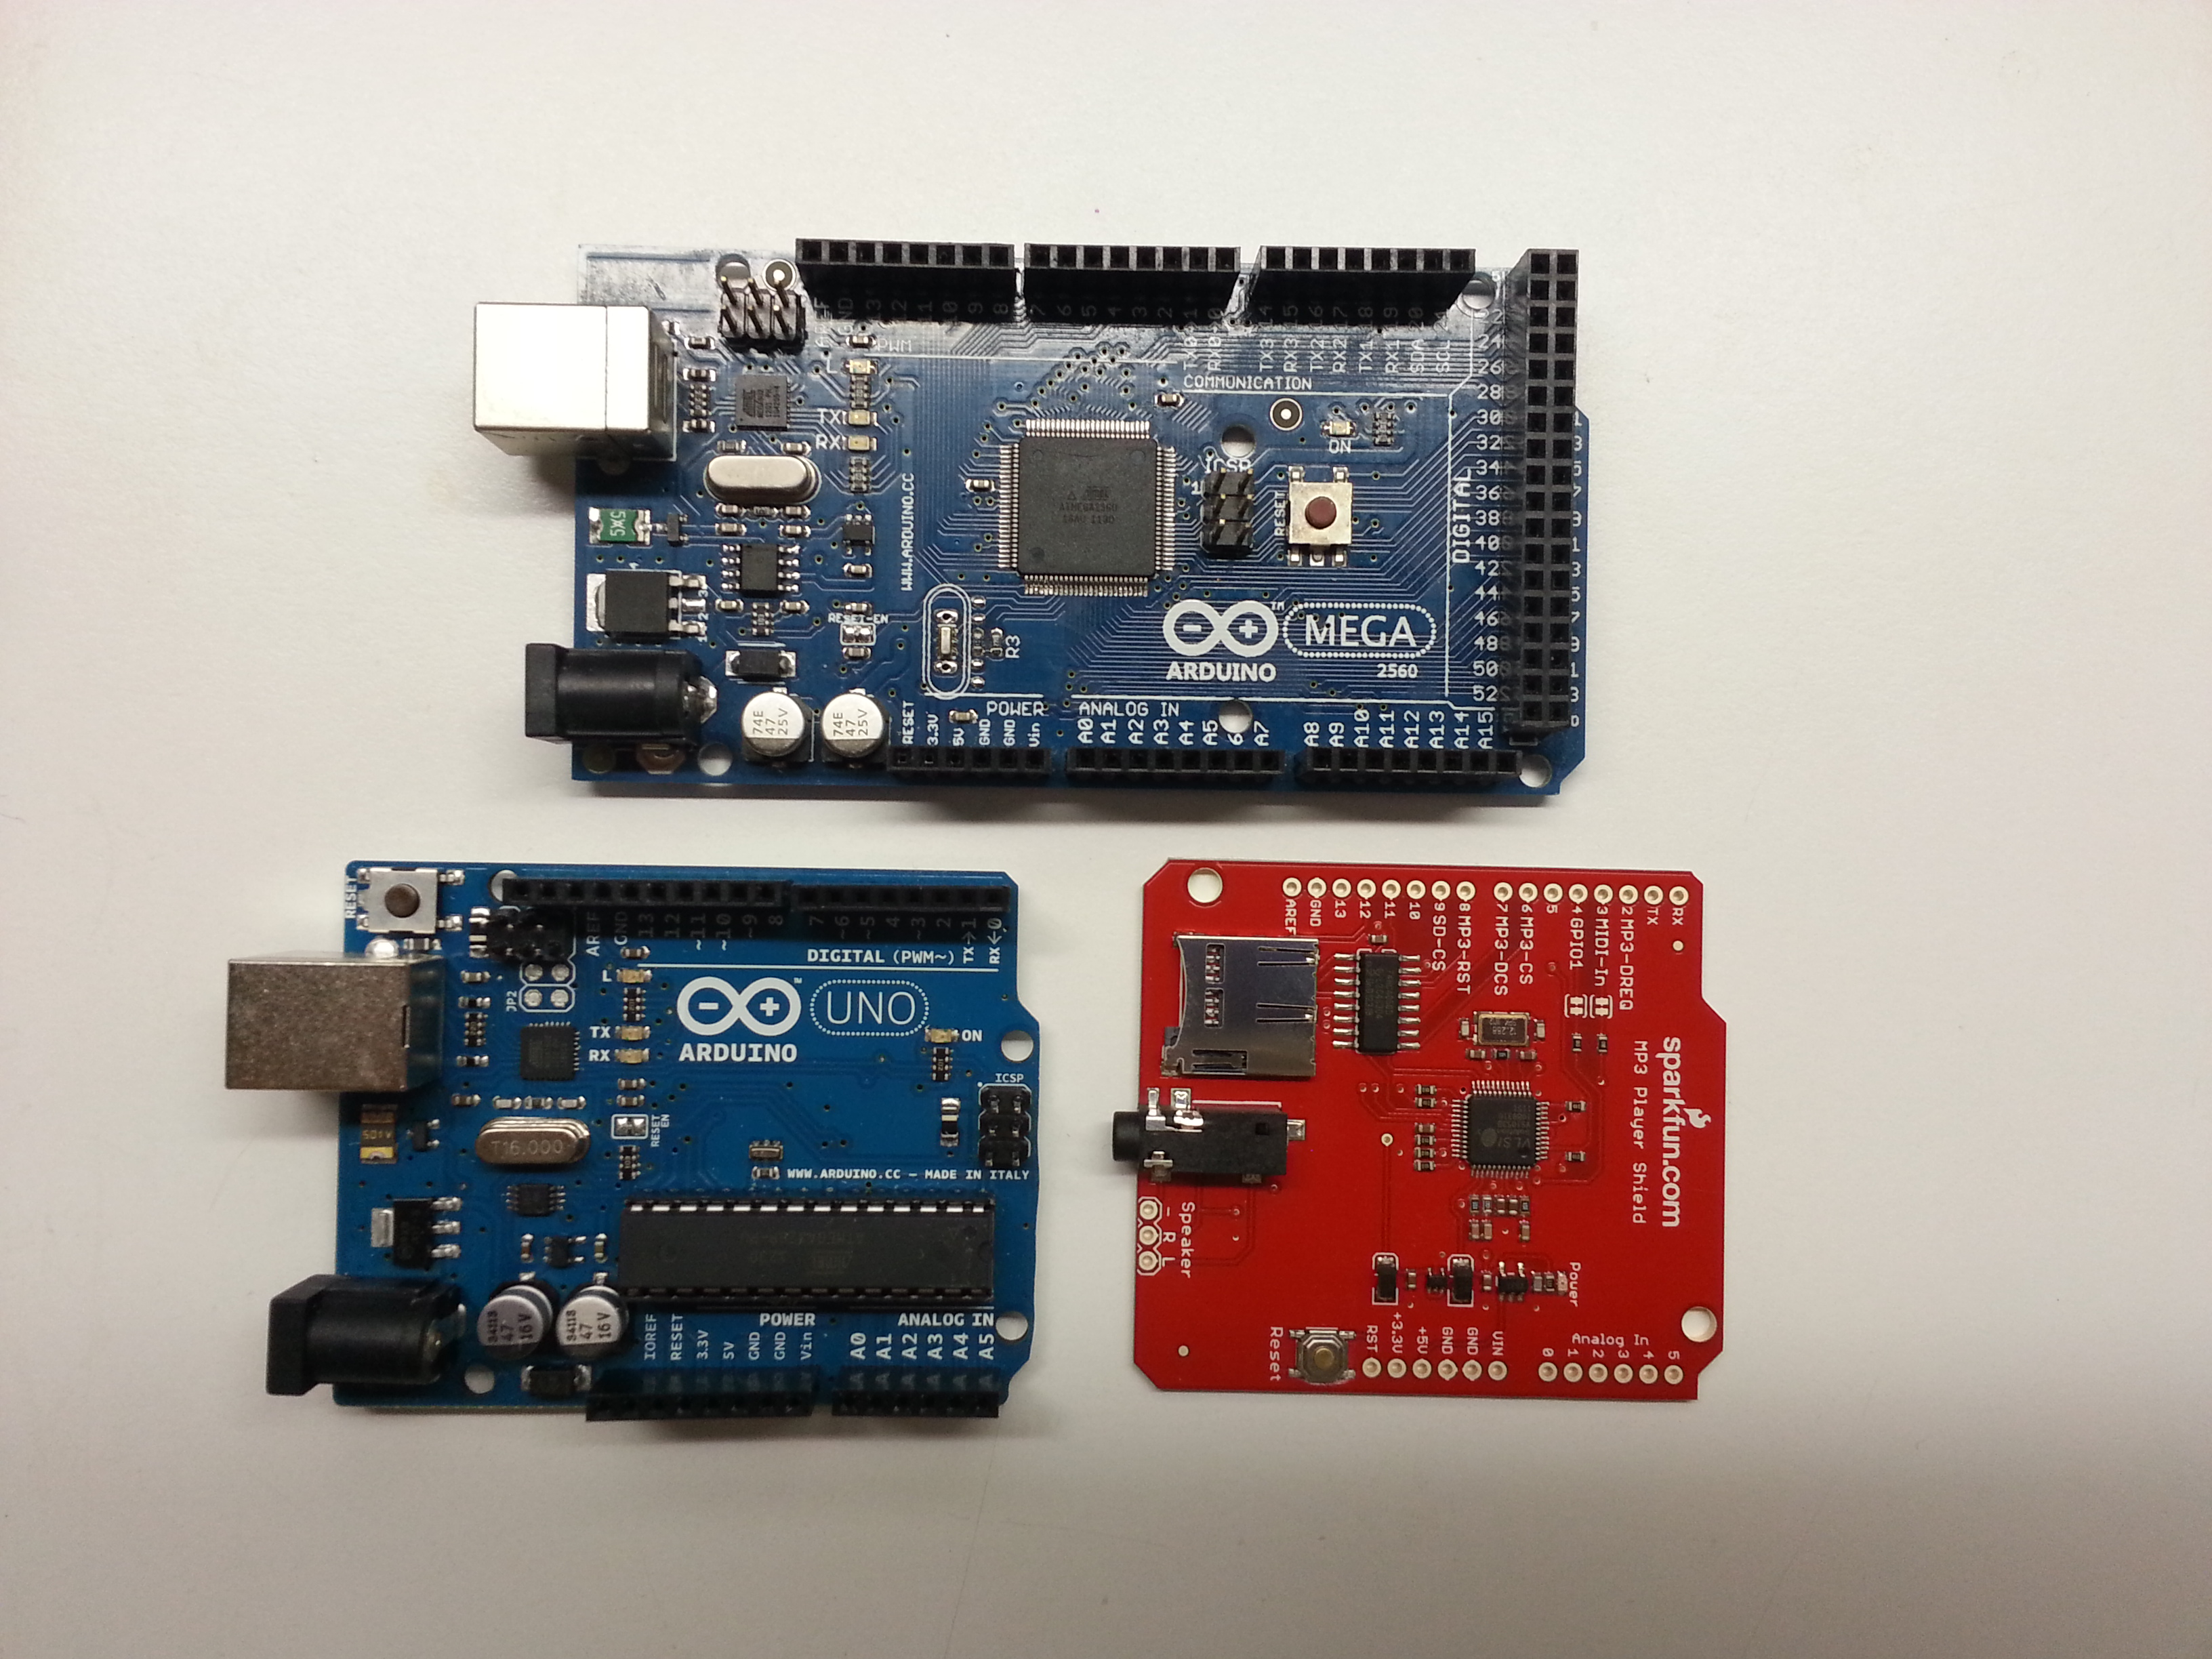
Here is a photo of two different Arduino Micro-controller boards, the Arduino MEGA and the Arduino UNO along with the MP3 Player shield that will be used for this project.
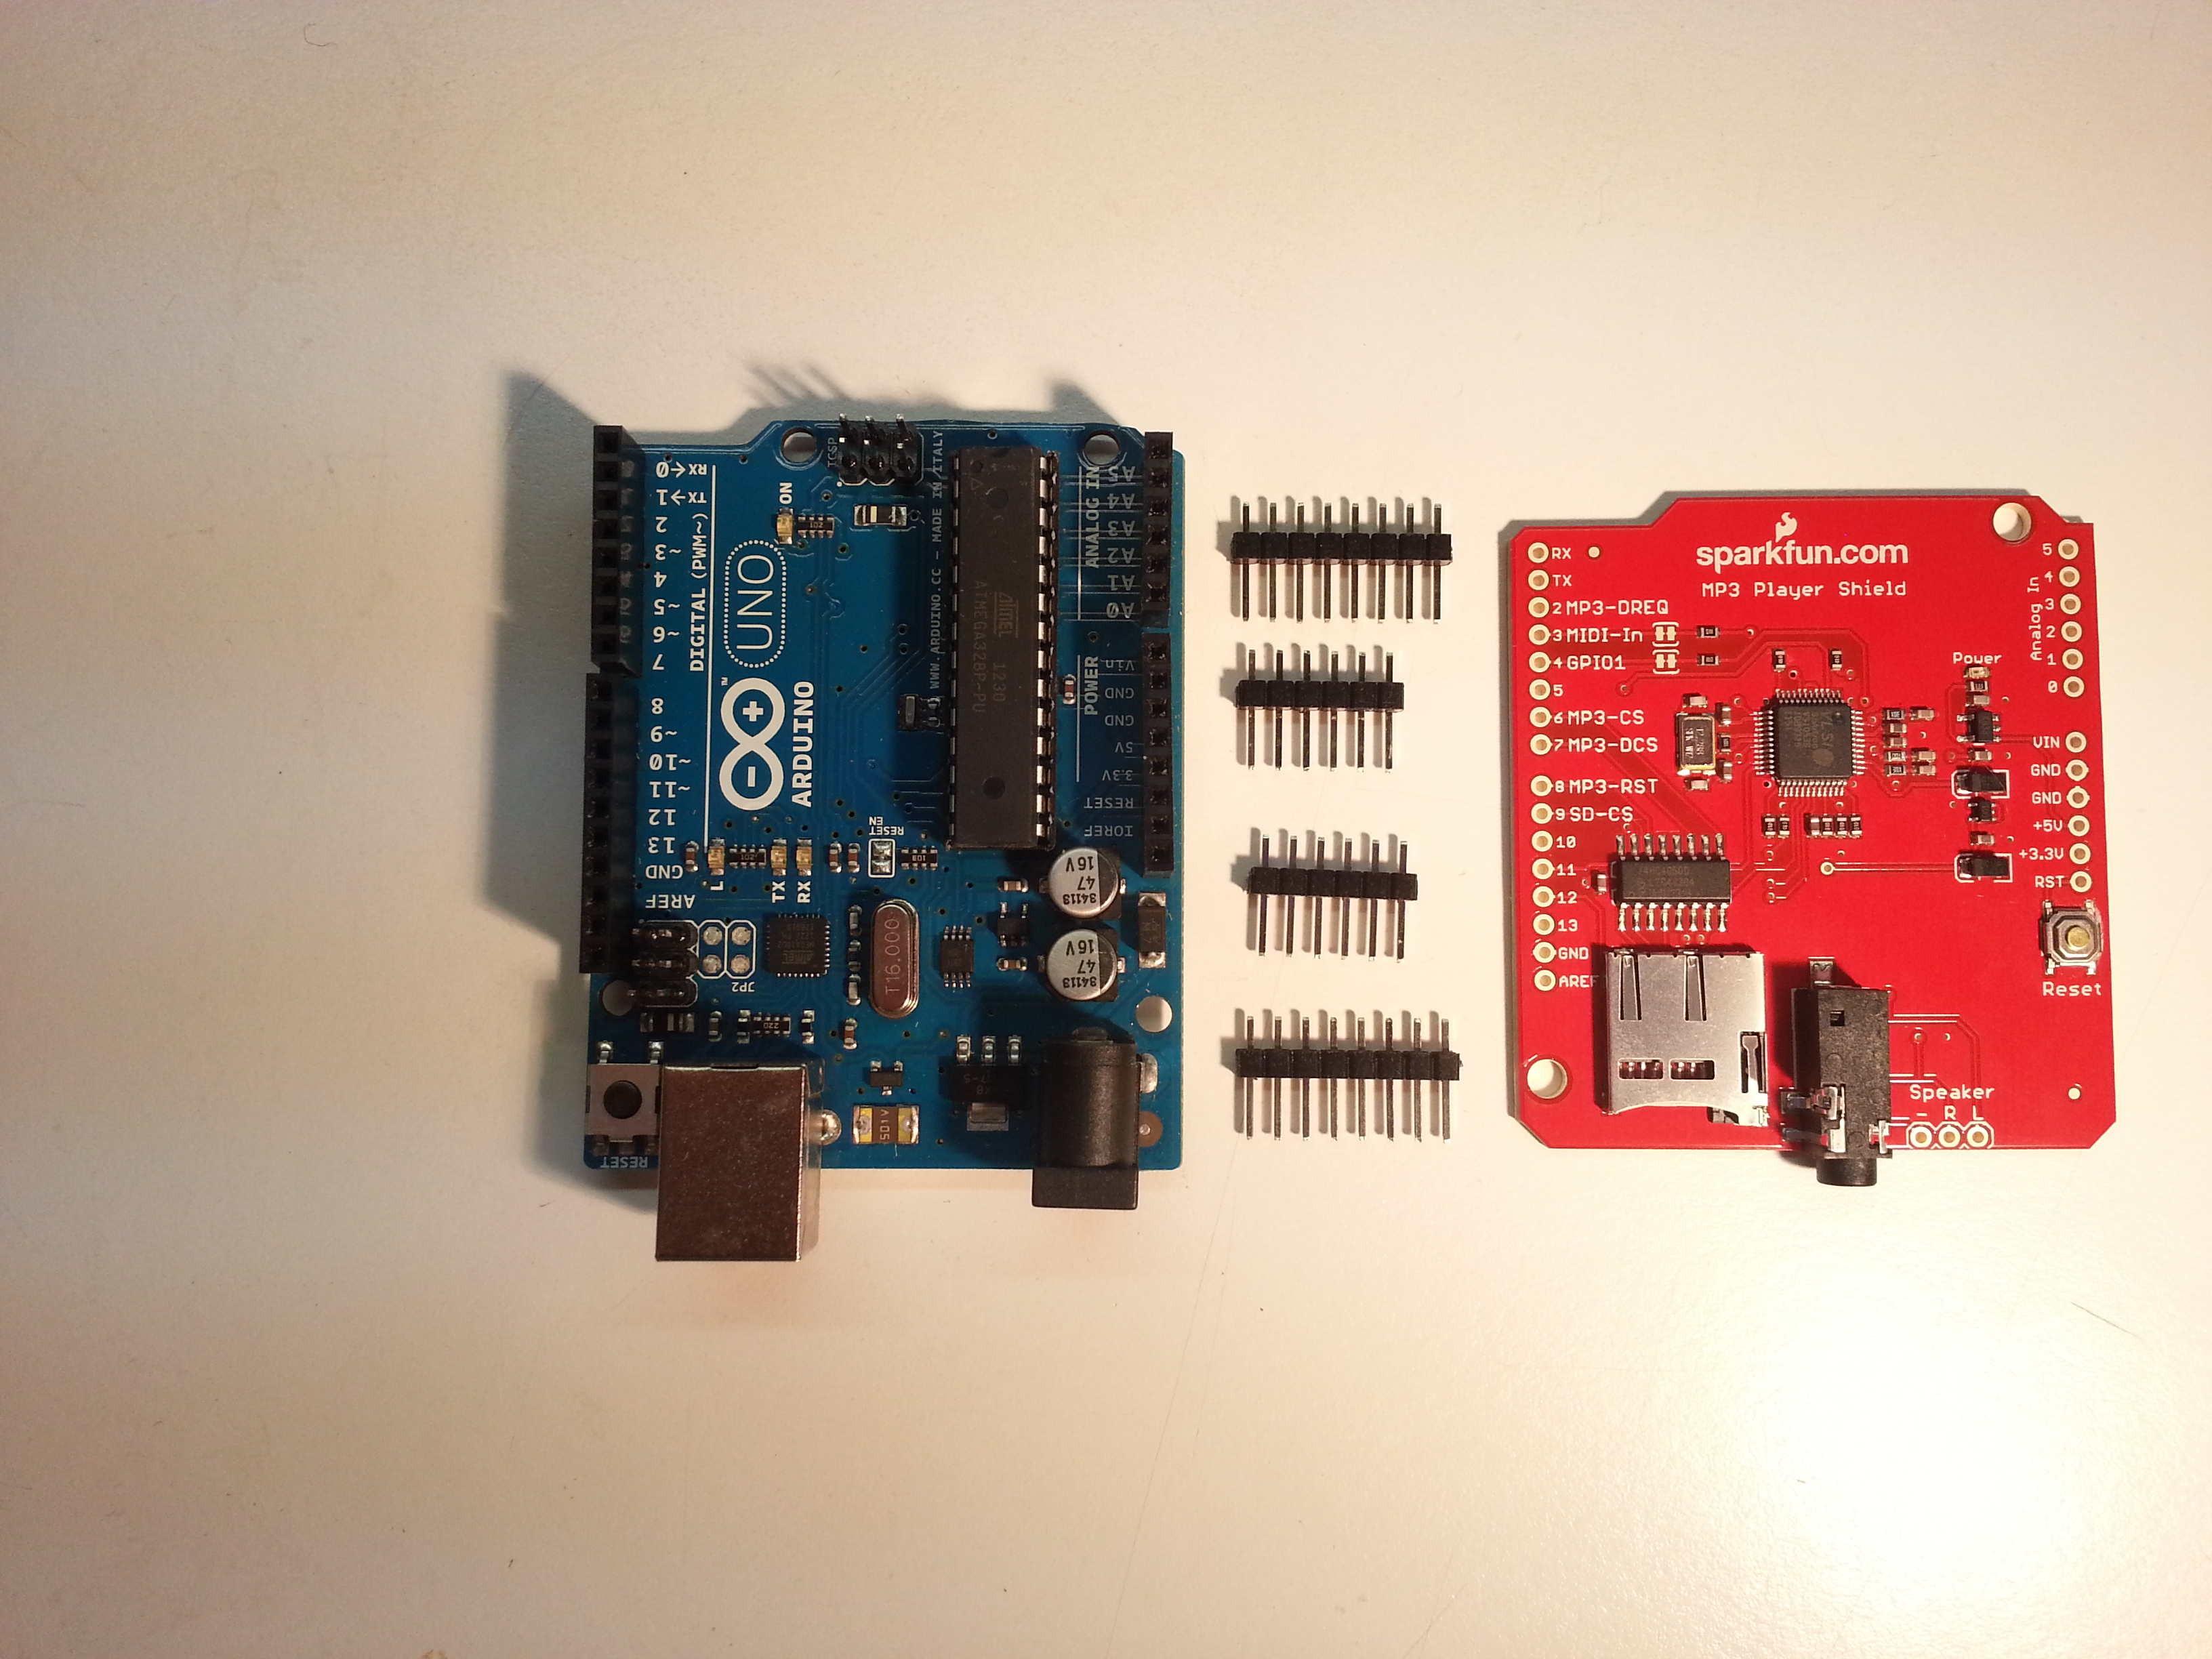
Here is the Arduino UNO with the MP3 Player shield and the header pins that will be used to connect the two together.
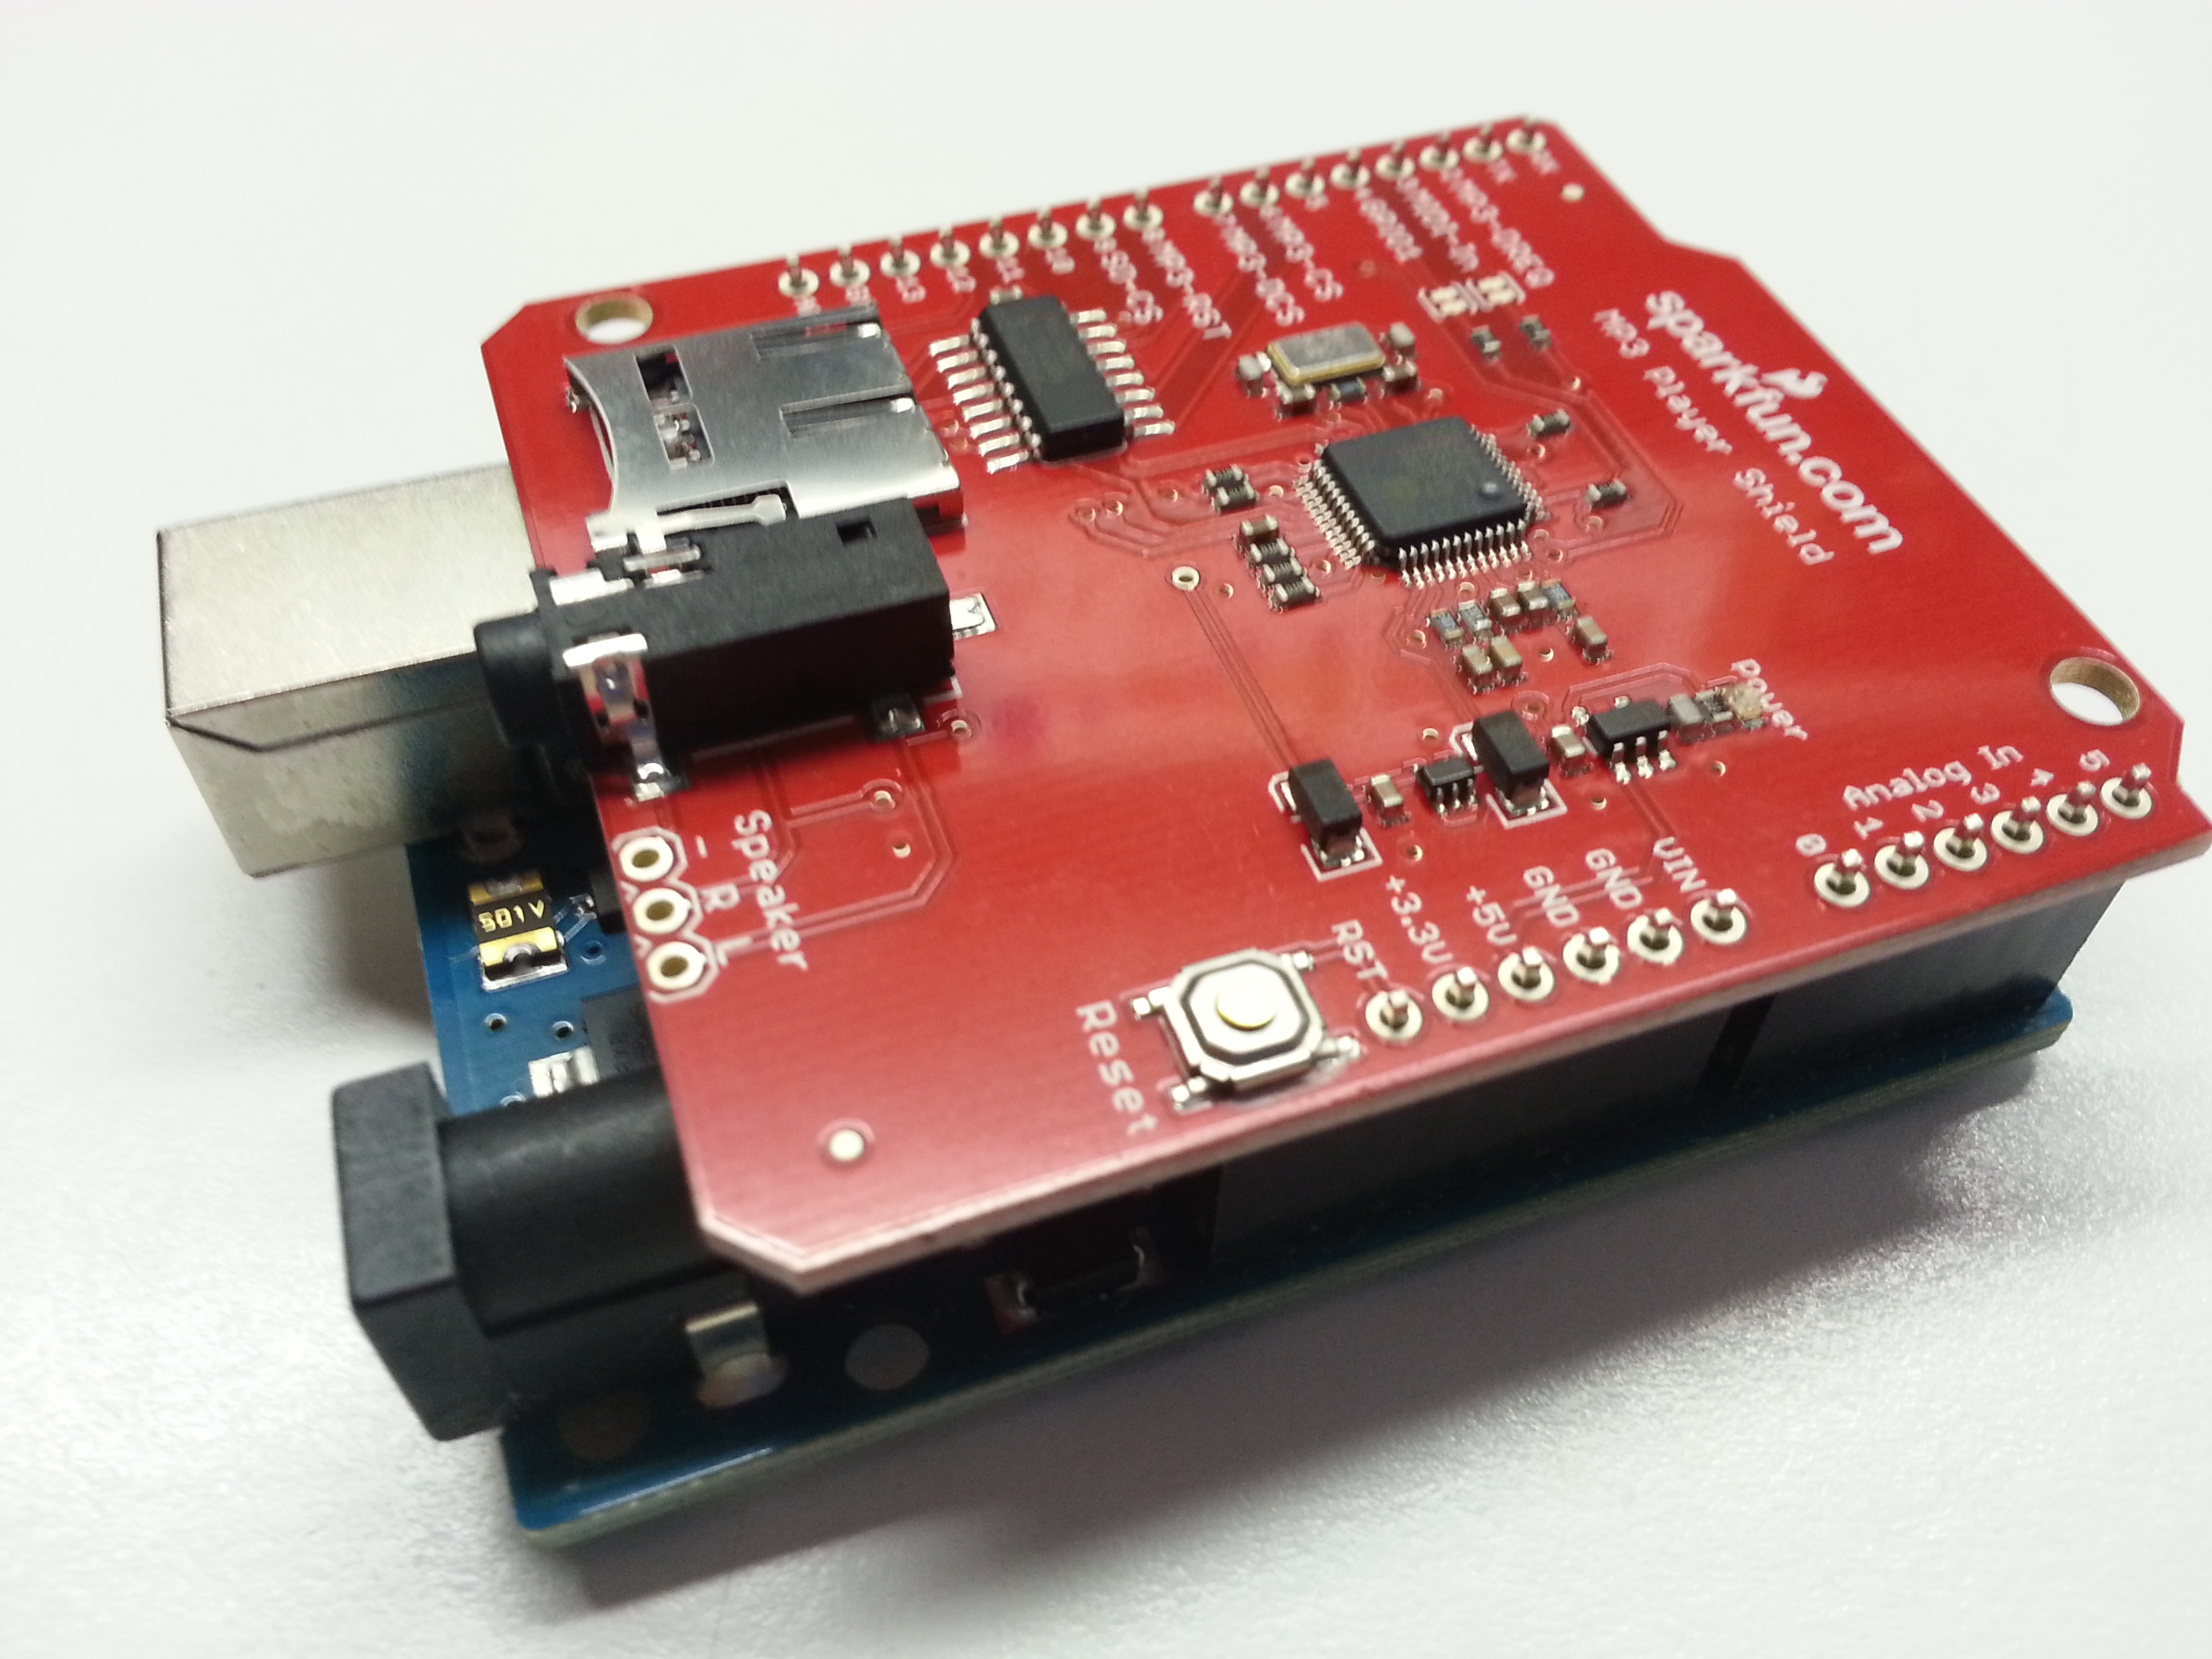
And here is the Arduino UNO with the MP3 Shield mounted to it.
Forward to Page 14
Back to Page 12
Back to the Table of Contents

Leave a Reply
You must be logged in to post a comment.